Model Explanations with Text Data
In this demo we will:
Launch a movie sentiment model which takes text input
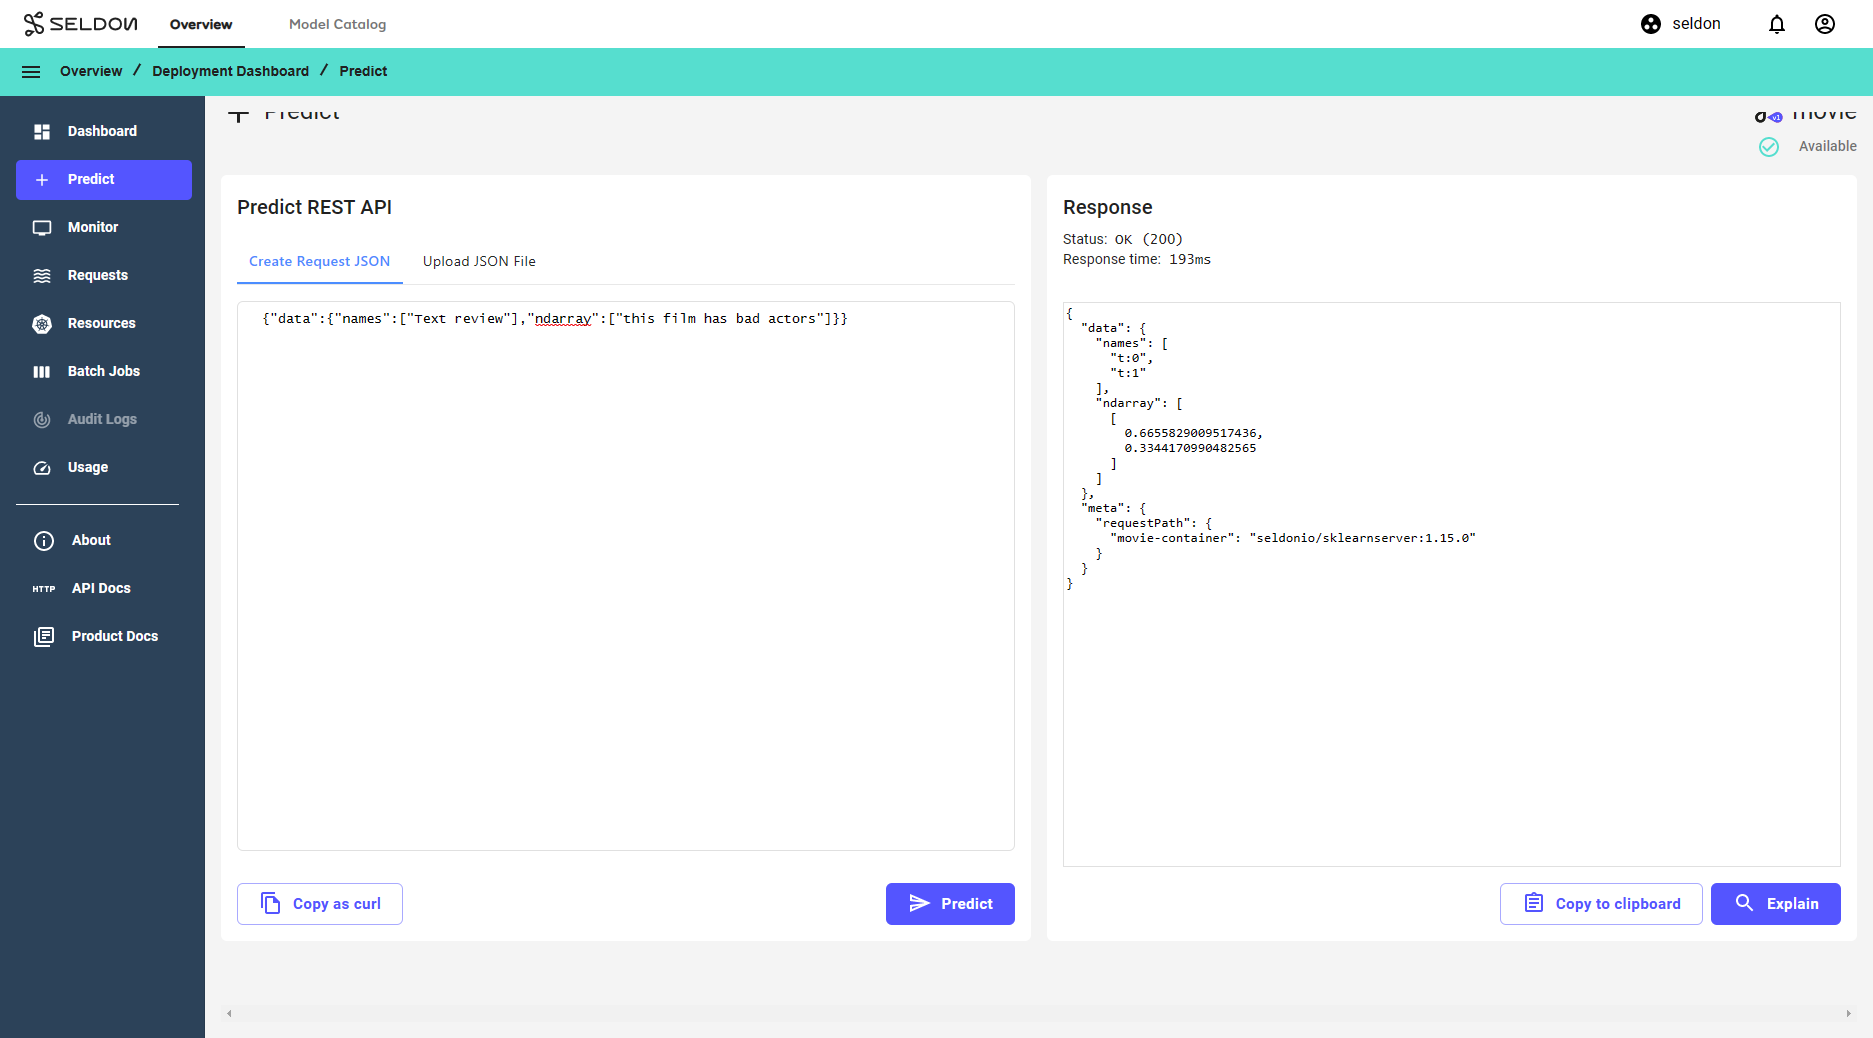
Send a request to get a sentiment prediction
Create an explainer for the model
Send the same request and then get an explanation for it
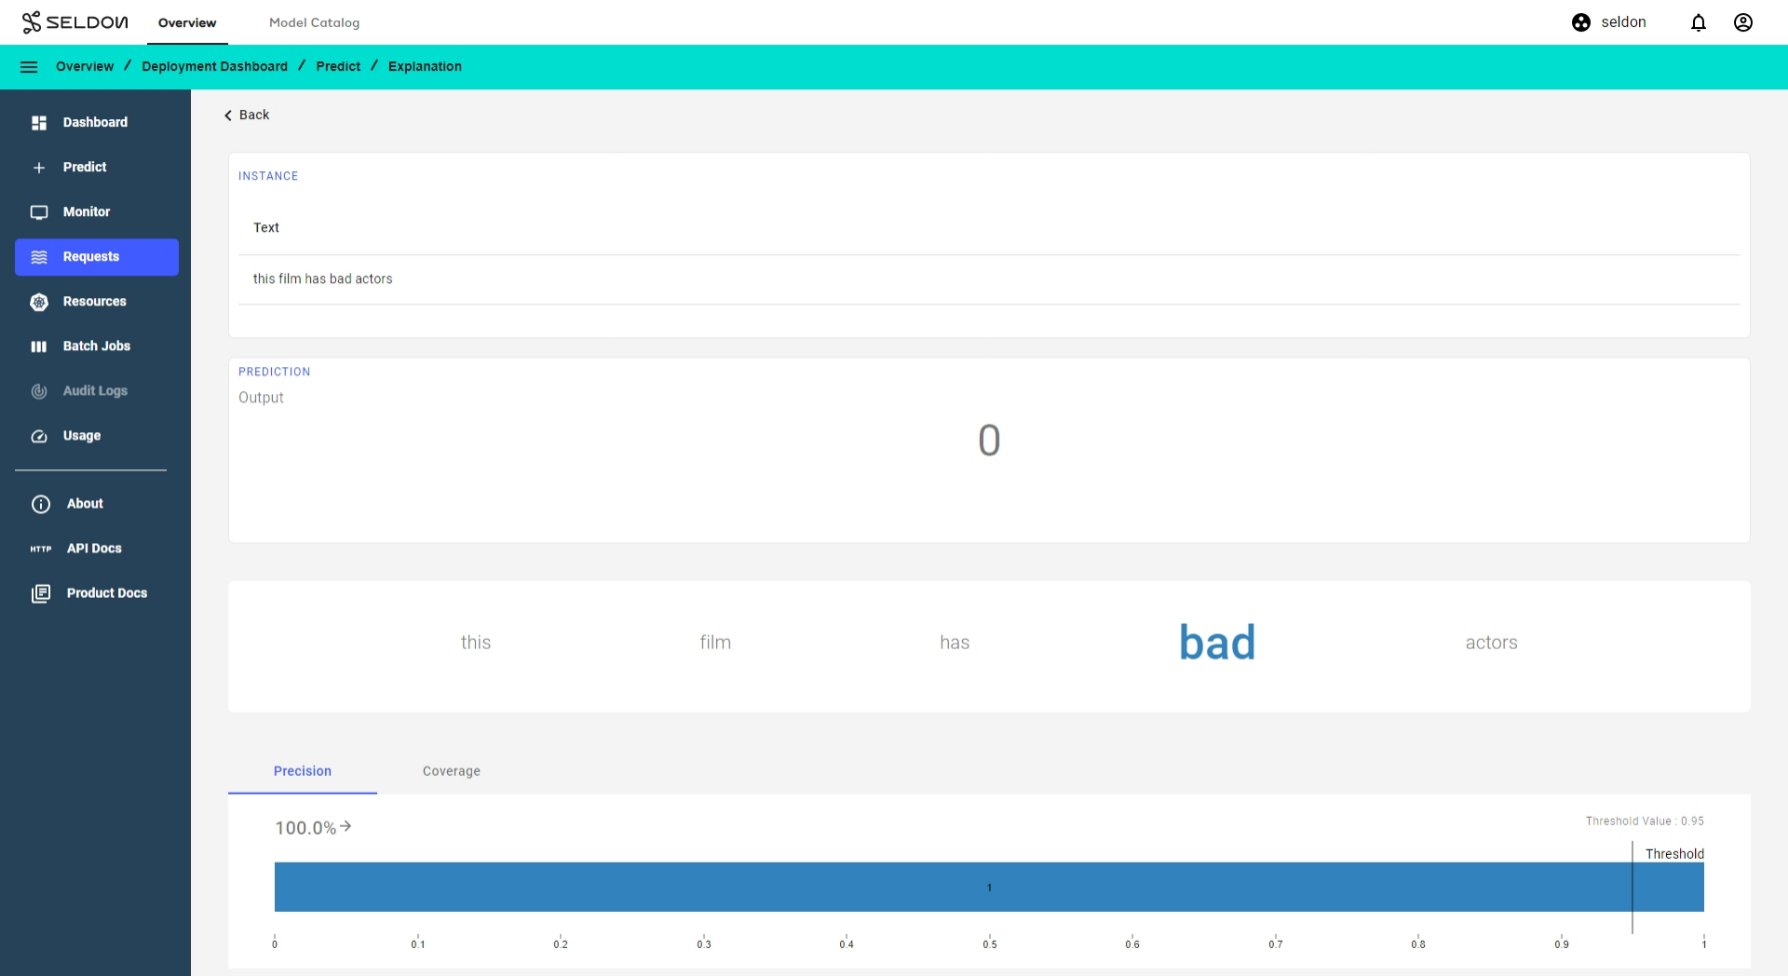
The explainer uses the anchors technique to provide insight into why a particular classification was made by the model. We’ll see patterns in input text that are most relevant to the prediction outcome.
Create a V1 Seldon Deployment
On the
Overviewpage, click onCreate new deployment.Enter the deployment details as follows, then click
Next:Parameter
Value
Name
movie
Namespace
seldon [1]
Type
Seldon Deployment
Protocol
Seldon
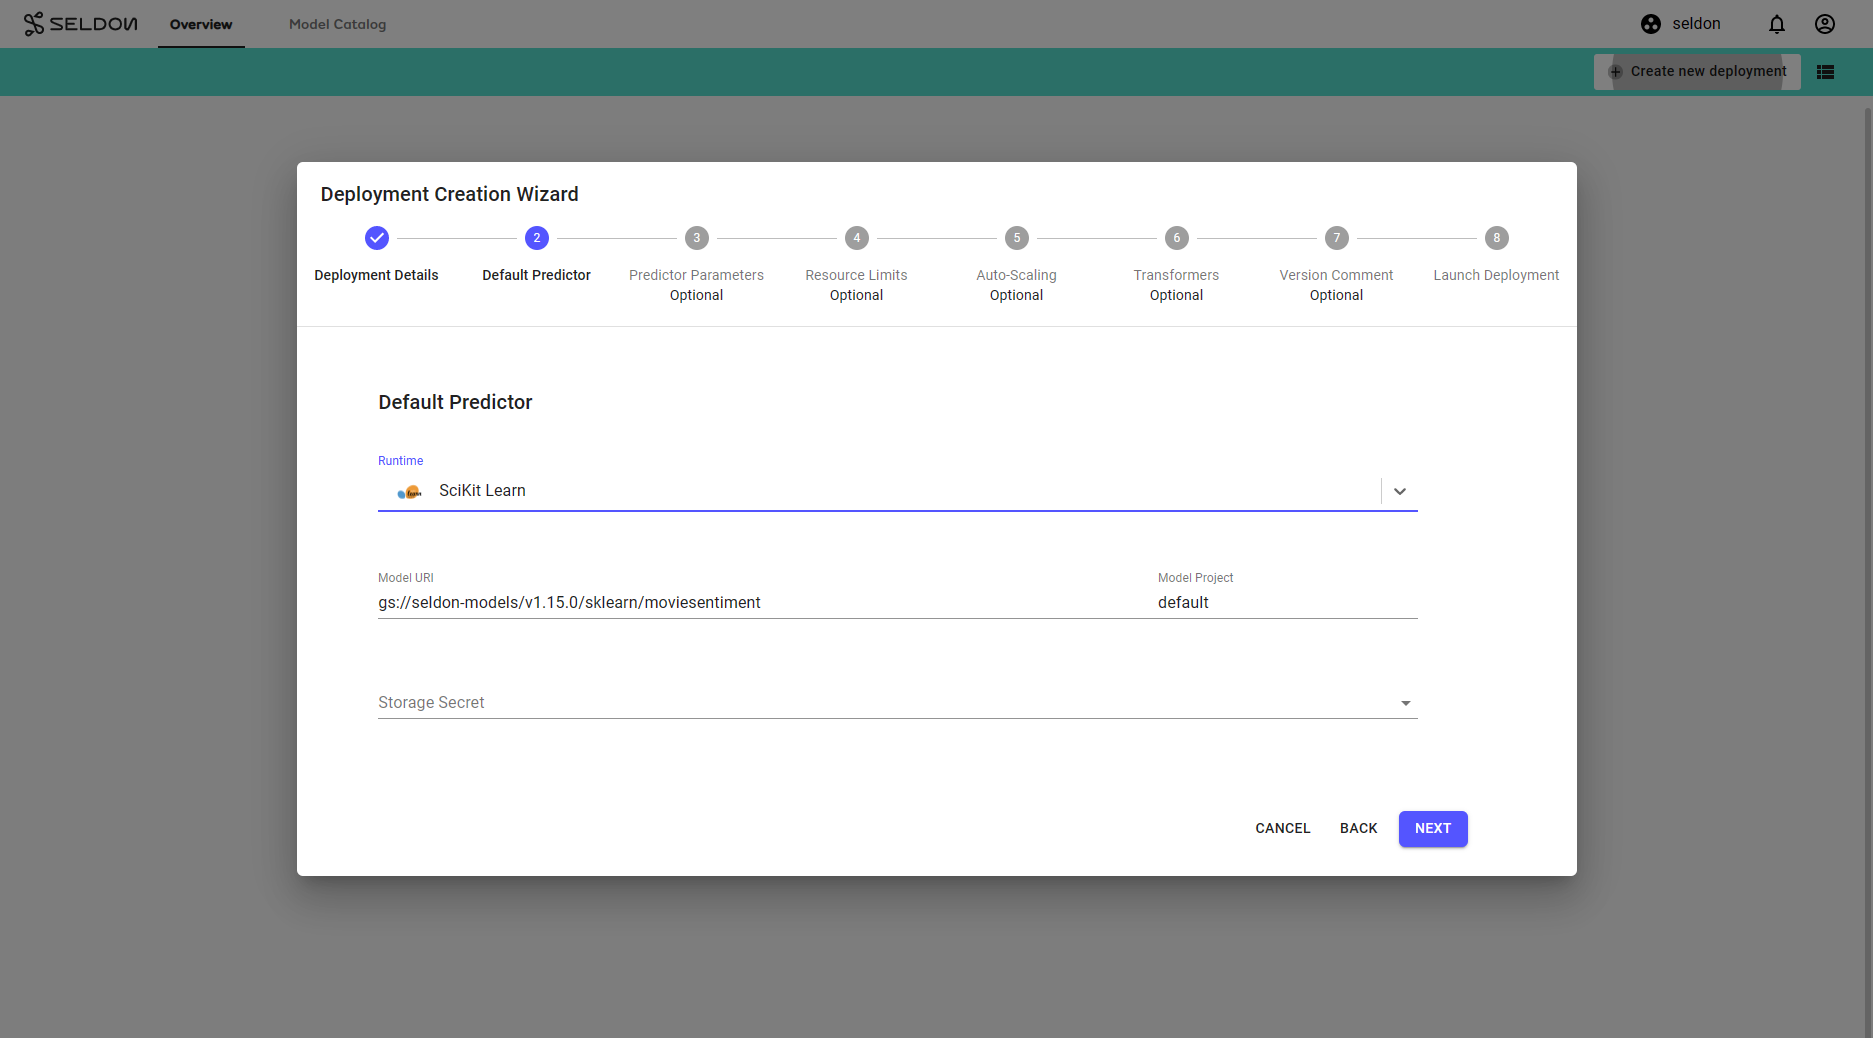
Configure the default predictor as follows:
Parameter
Value
Runtime
Scikit Learn
Model Project
default
Model URI
gs://seldon-models/v1.18.2/sklearn/moviesentimentStorage Secret
(leave blank/none) [2]
Model Name
(leave blank)
Click
Nextfor the remaining steps[3], then clickLaunch.
seldonand
seldon-gitopsnamespaces are installed by default, which may not always be available. Please select a namespace which best describes your environment.
2. A secret may be required for private buckets.
3. Additional steps may be required for your specific model.
Get Predictions
Click on the
moviedeployment created in the previous section to enter the deployment dashboard.Inside the deployment dashboard, click on the
Predictbutton.On the
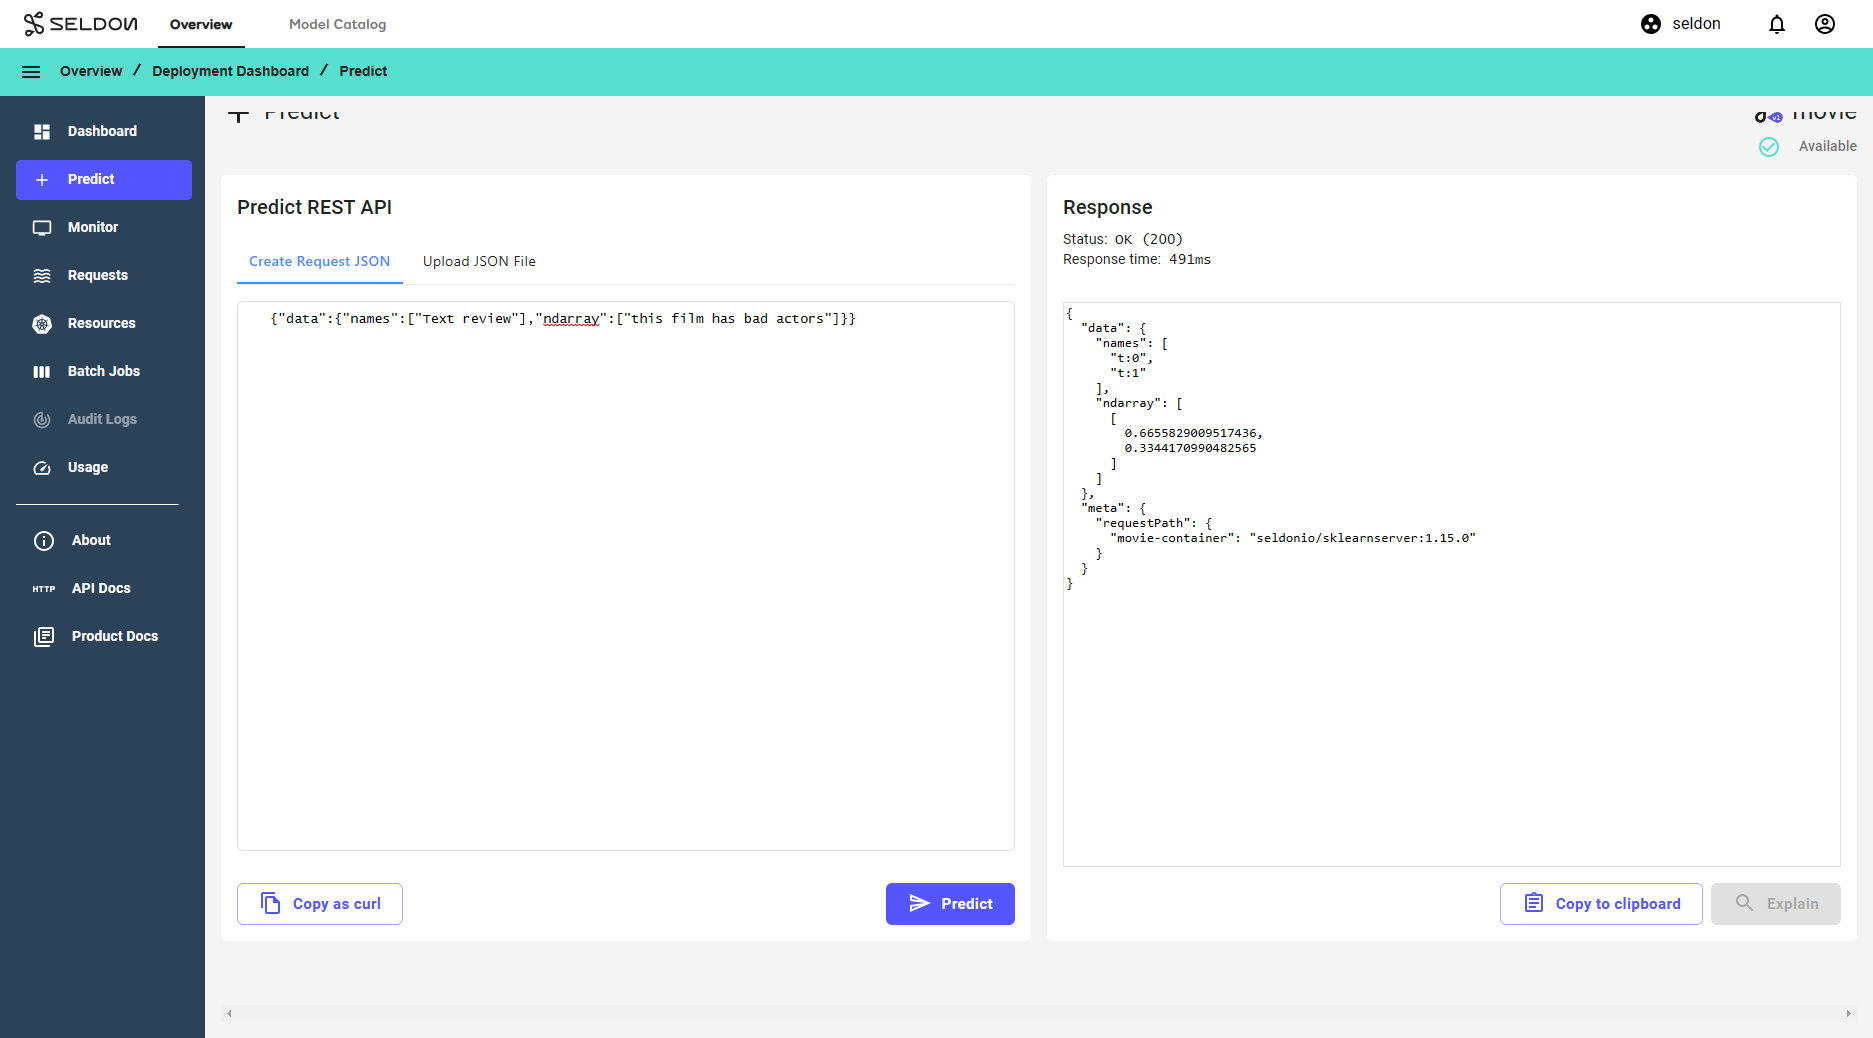
Predictpage, enter the following text:{ "data": { "names": [ "Text review" ], "ndarray": [ "this film has bad actors" ] } }
Click the
Predictbutton.
Add an Anchor Text Explainer
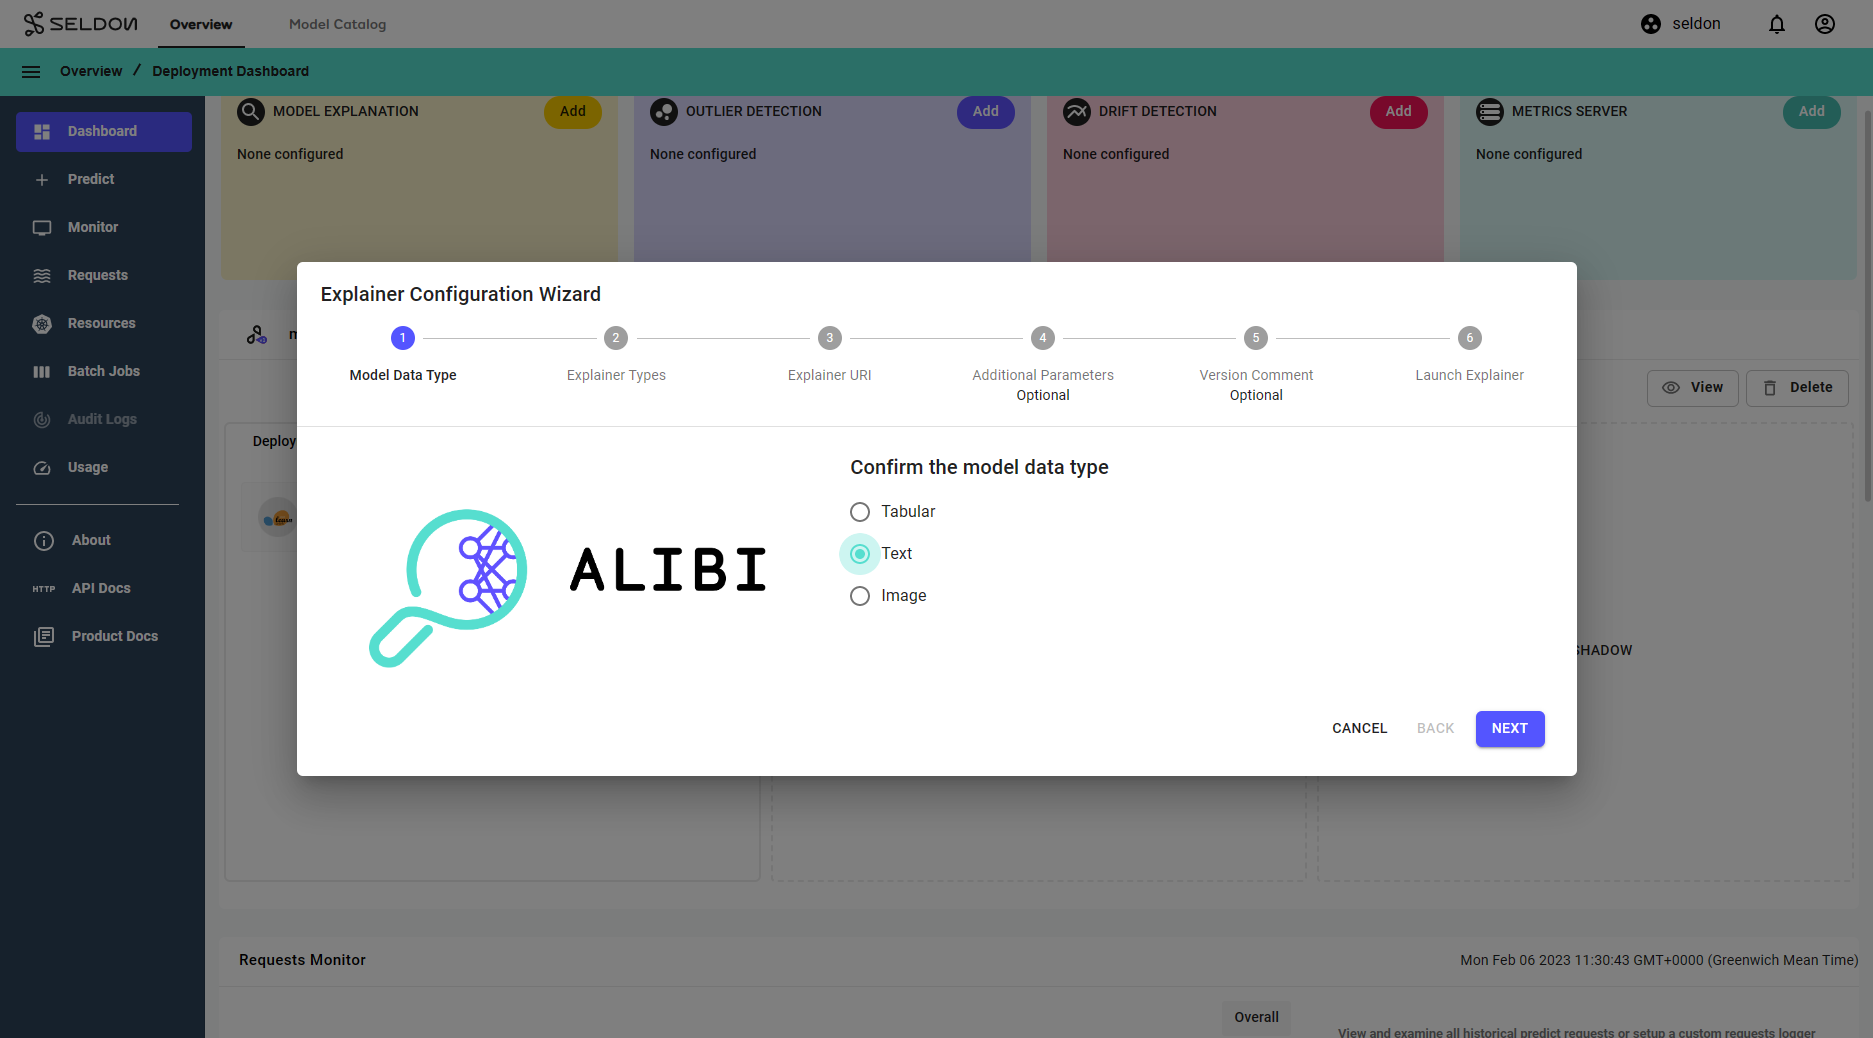
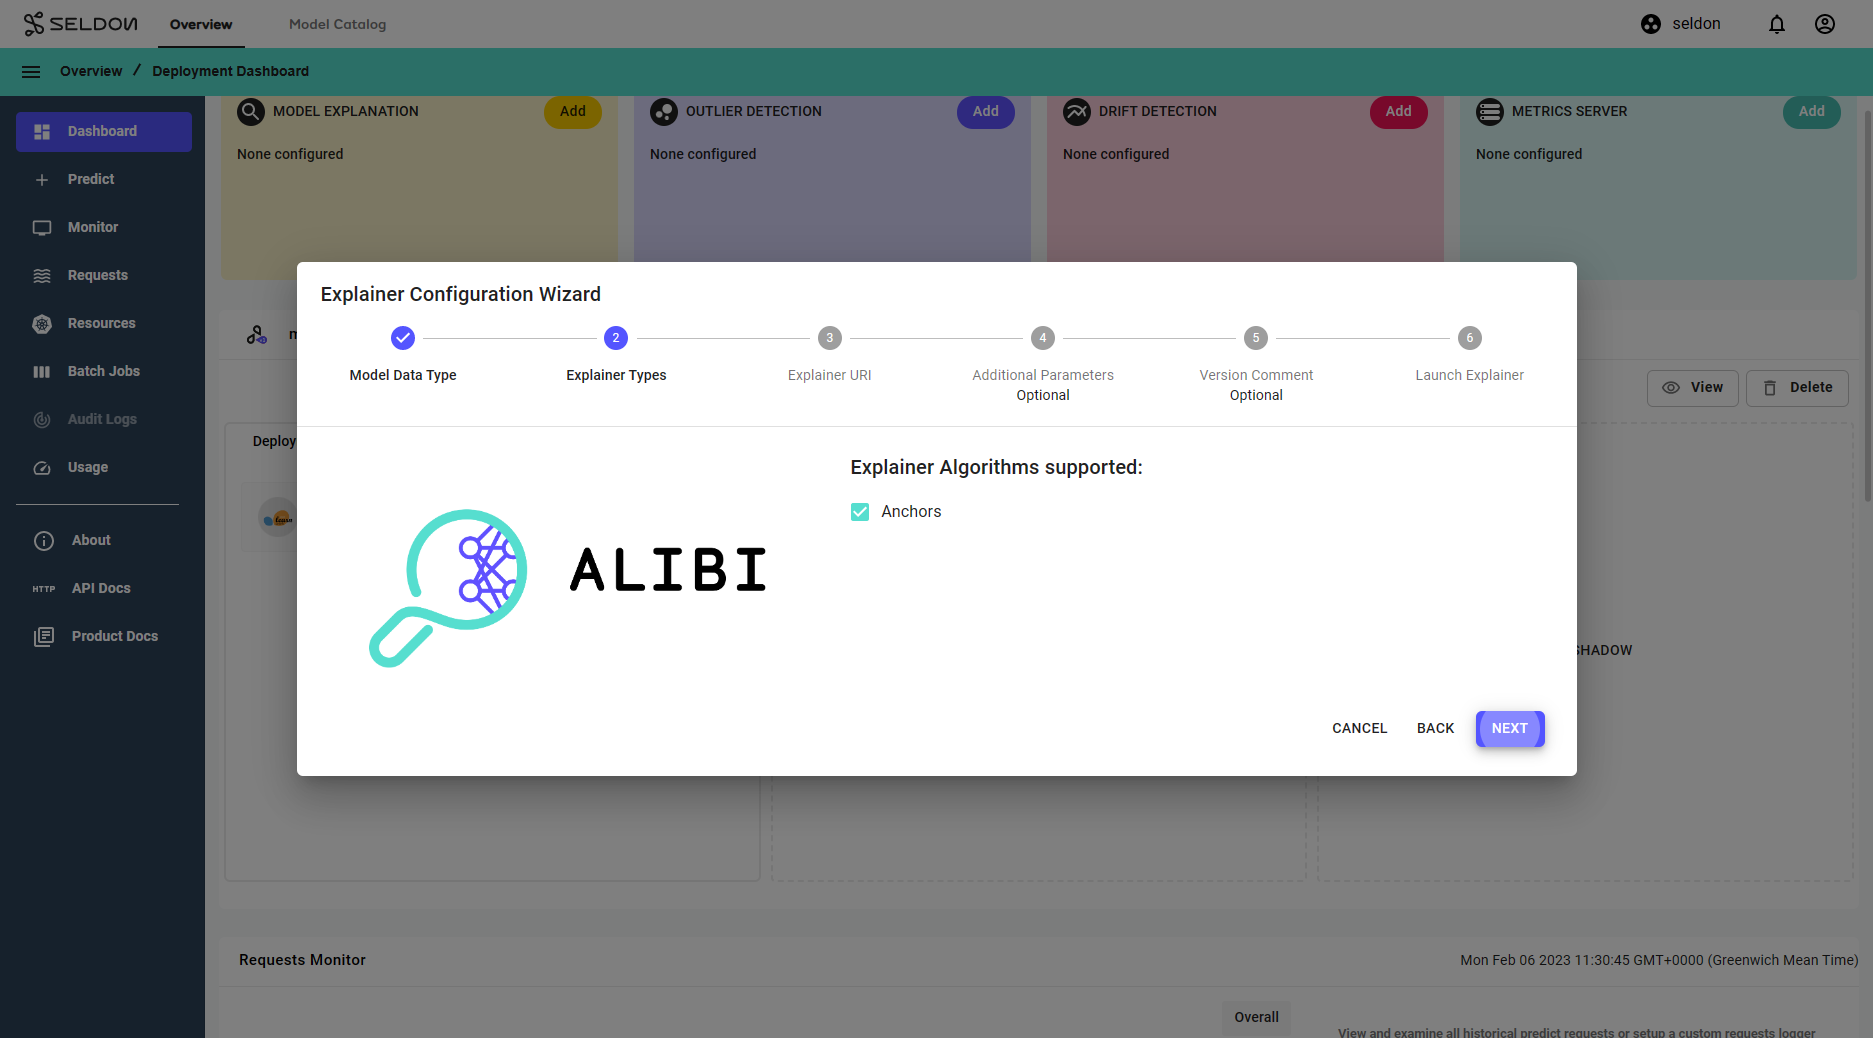
To create an explainer[1], enter the deployment dashboard and click on Add within the Model Explanation widget to open the explainer creation wizard.
Step |
Description |
|---|---|
1 |
Click |
2 |
Click |
3 |
Click |
4 |
Click |
5 |
Click |
6 |
Click |
After a short while, the explainer should become available.
1. It is only possible to create one explainer per deployment.2. You may wish to enter a comment here for a gitops enabled namespace.
Get Explanation for one Request
Return to the
Predictpage described in the section Get Predictions.Resend a single request using the JSON below and then explain it:
{
  "data": {
    "names": [
      "Text review"
    ],
    "ndarray": [
      "this film has bad actors"
    ]
  }
}
Click
Explainto generate explanations for the request.
Congratulations, you’ve created an explanation for the request! 🥳
Next Steps
Why not try our other demos? Ready to dive in? Read our operations guide to learn more about how to use Enterprise Platform.
