 Seldon Enterprise Platform Documentation Update
NVIDIA Triton Server and Alibi Explanations
In this demo we will deploy an image classification model on NVIDIA Triton with GPUs and run explanations using Seldon Alibi. This demo also uses the Kserve V2 protocol for model prediction and explanation payload. Learn more about V2 protocol at Predict Protocol - Version 2 git repository.
Create Model
Click on
Create.
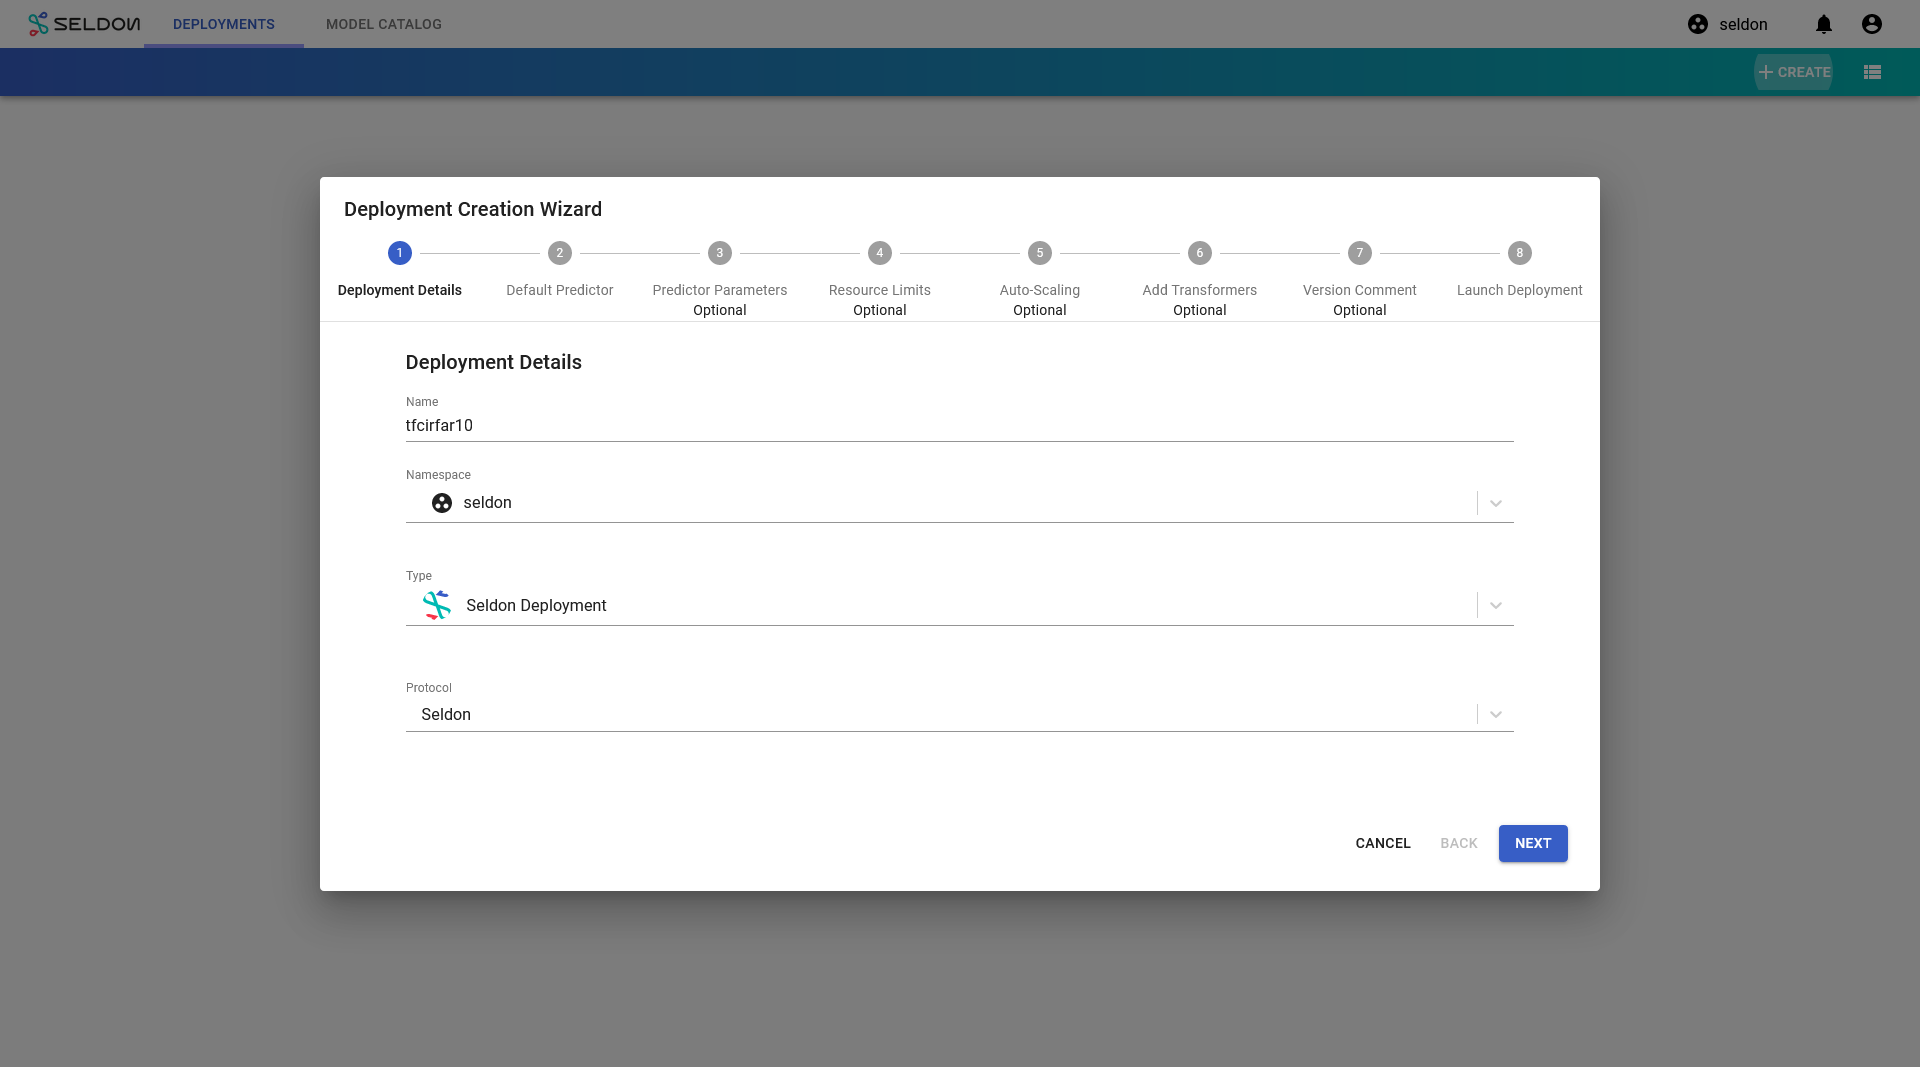
Enter the deployment details as follows:
name: tfcifar
namespace: seldon
Type: Seldon Deployment
Protocol: Inference V2
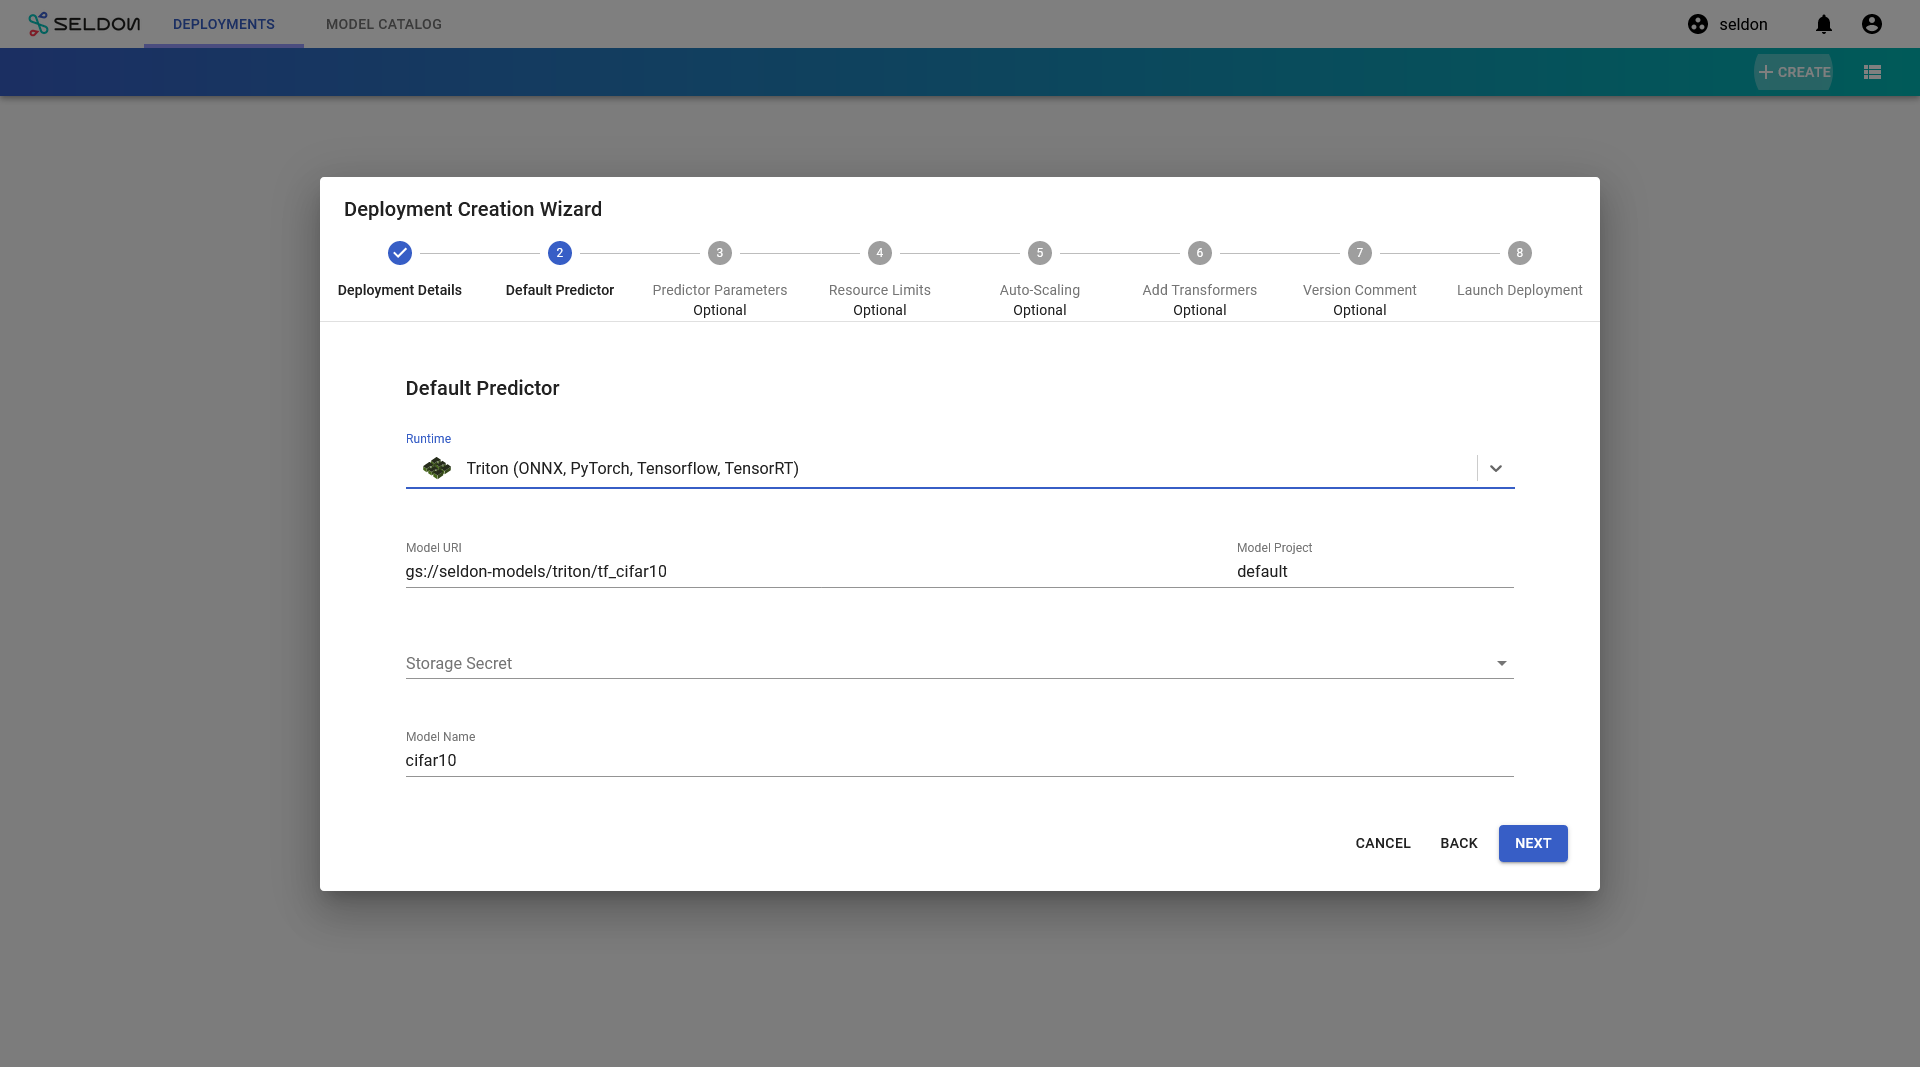
Configure the default predictor as follows:
runtime: Triton (ONNX, PyTorch, TensorFlow, TensorRT)
Model Project: default
For URI, you have several options. Choose one of the following:
TensorFlow model:
gs://seldon-models/triton/tf_cifar10ONNX model:
gs://seldon-models/triton/onnx_cifar10PyTorch model:
gs://seldon-models/triton/pytorch_cifar10
For the purposes of this demo, we will use the TensorFlow model:
gs://seldon-models/triton/tf_cifar10
Storage Secret: (leave blank/none)
Model Name: cifar10
Click
Nextto skip stepPrediction Parameters.You may skip this step if using the TensorFlow model.
Note
To determine these settings we recommend you use the NVIDIA model analyzer.
Warning
Ensure GPUs are available to your cluster and you have provided enough memory for your model.
For
Resource Limits, set the following parameters:For
Requests, set the following values:Number of GPUto1.Memoryto10Gi. (Skip this step if using the TensorFlow model)
For
Limits, set the following values:Number of GPUto1.Memoryto20Gi. (Skip this step if using the TensorFlow model)
Note
The
RequestsandLimitsfields forNumber of GPUare cannot be different.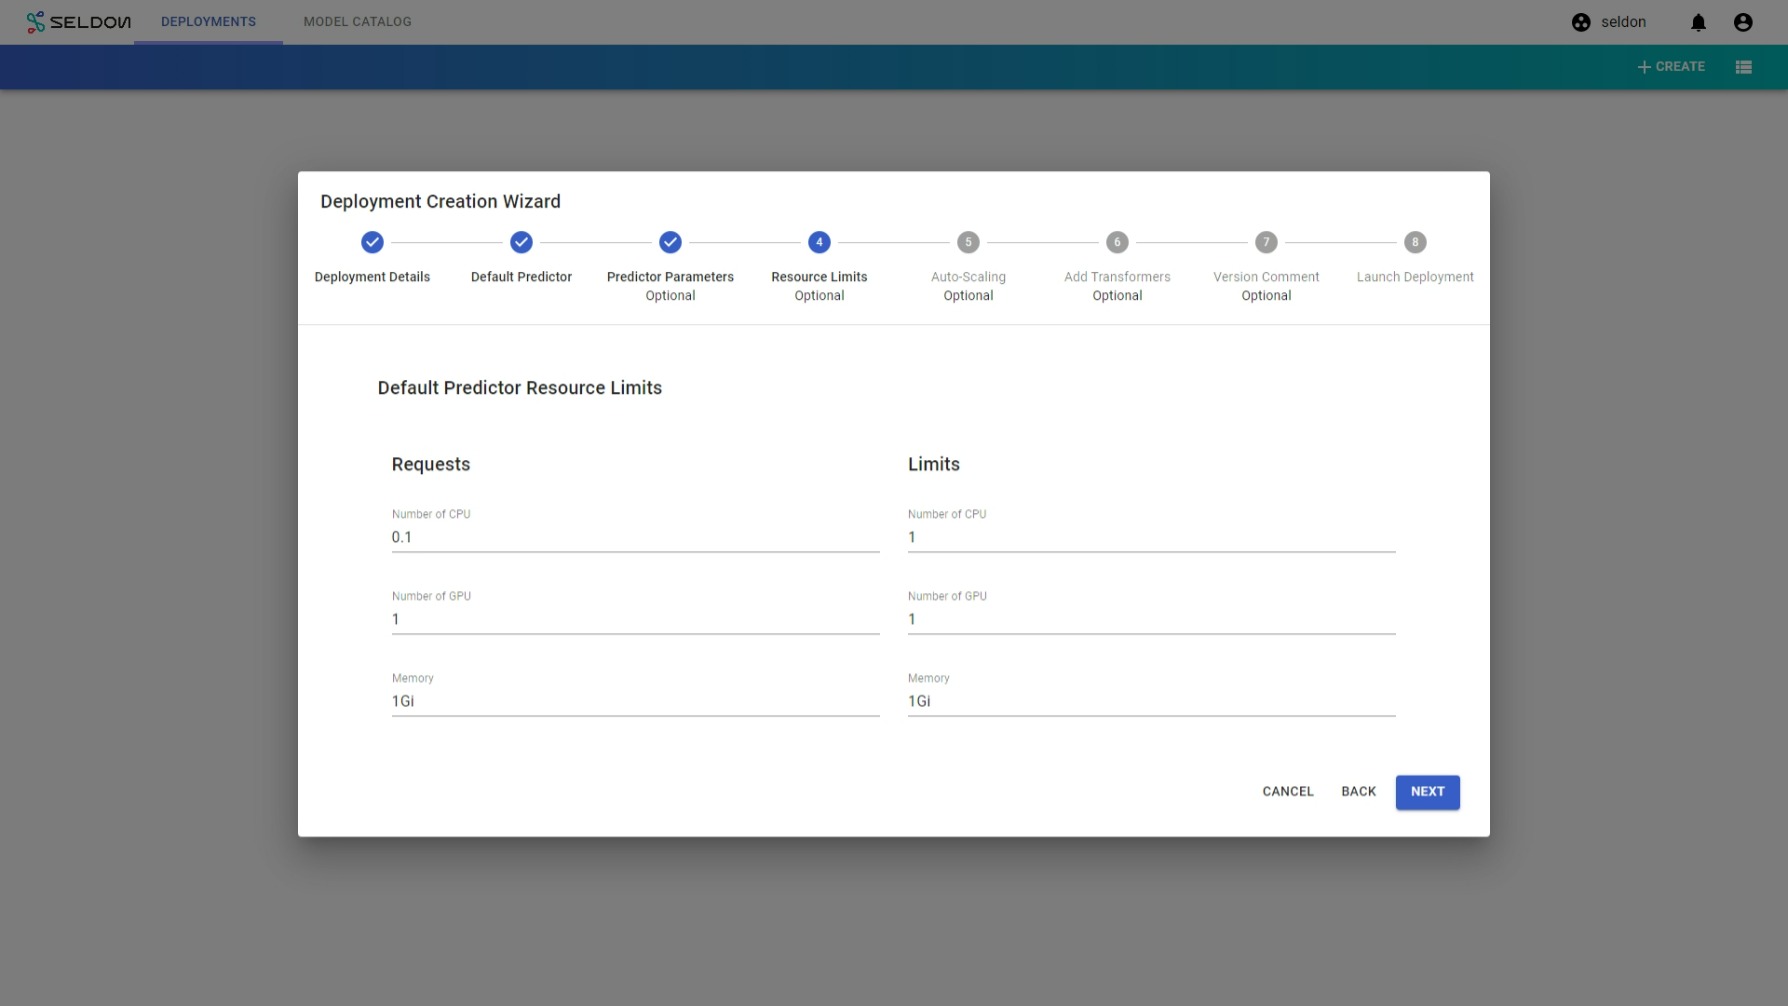
Skip to the end and click
Launch.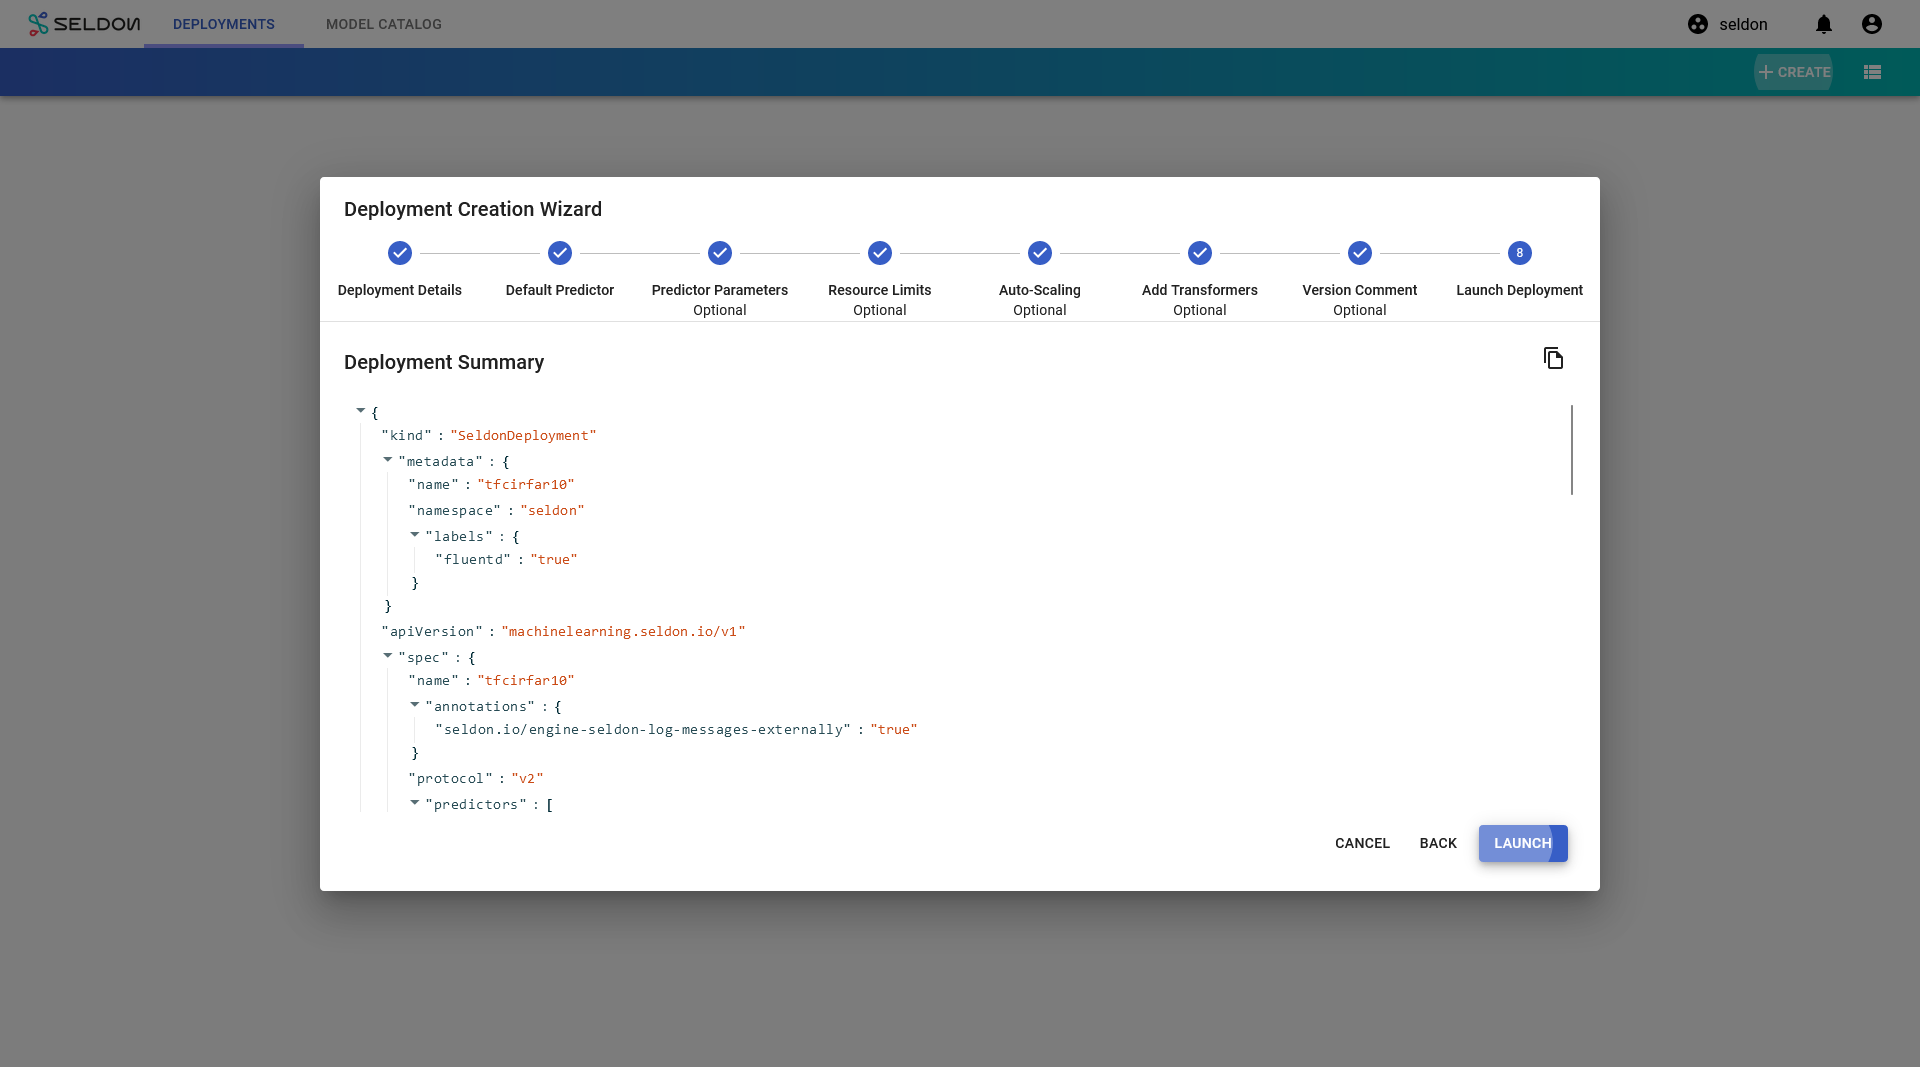
If your deployment is launched successfully, it will have
Availablestatus.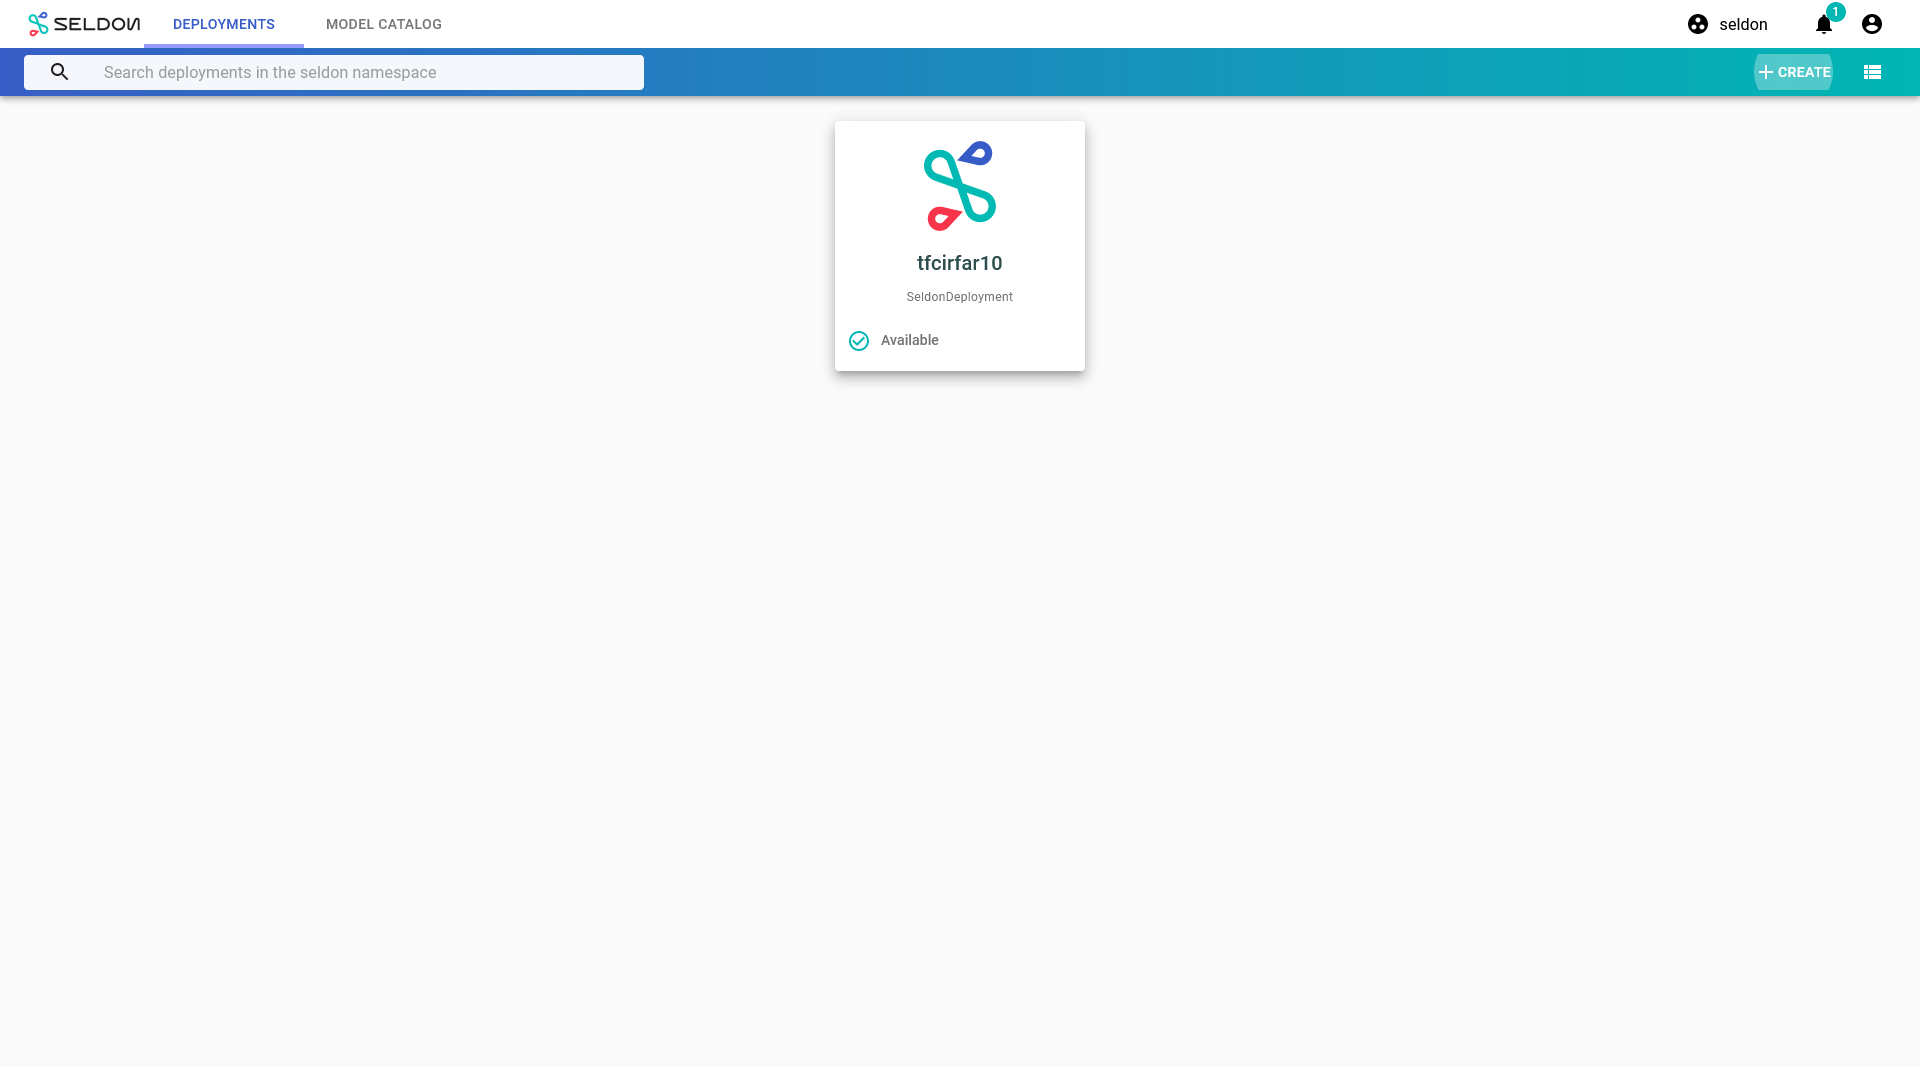
Make model predictions
Once your deployment is Available, you can test your model with the following images. The payload will depend on the model from above you launched.
Note
For the purposes of this demo, we will use the TensorFlow Resnet32 payload.
Warning
Ensure GPUs are available to your cluster and you have provided enough memory for your model.
Configure an Alibi Anchor Images Explainer
Important
The alibi explainer demo here is limited to use with TensorFlow Resnet32 model mentioned earlier so please continue the setup only if you are running TensorFlow model and not with ONNX or PyTorch model. The reason being that the explainer artifact below is only complatible with TensorFlow Resnet32 model only.
The explanation will offer insight into why an input was classified as high or low. It uses the anchors technique to track features from training data that correlate to category outcomes. Create a model explainer using the URI below for the saved explainer.
To configure an explainer, complete the following steps:
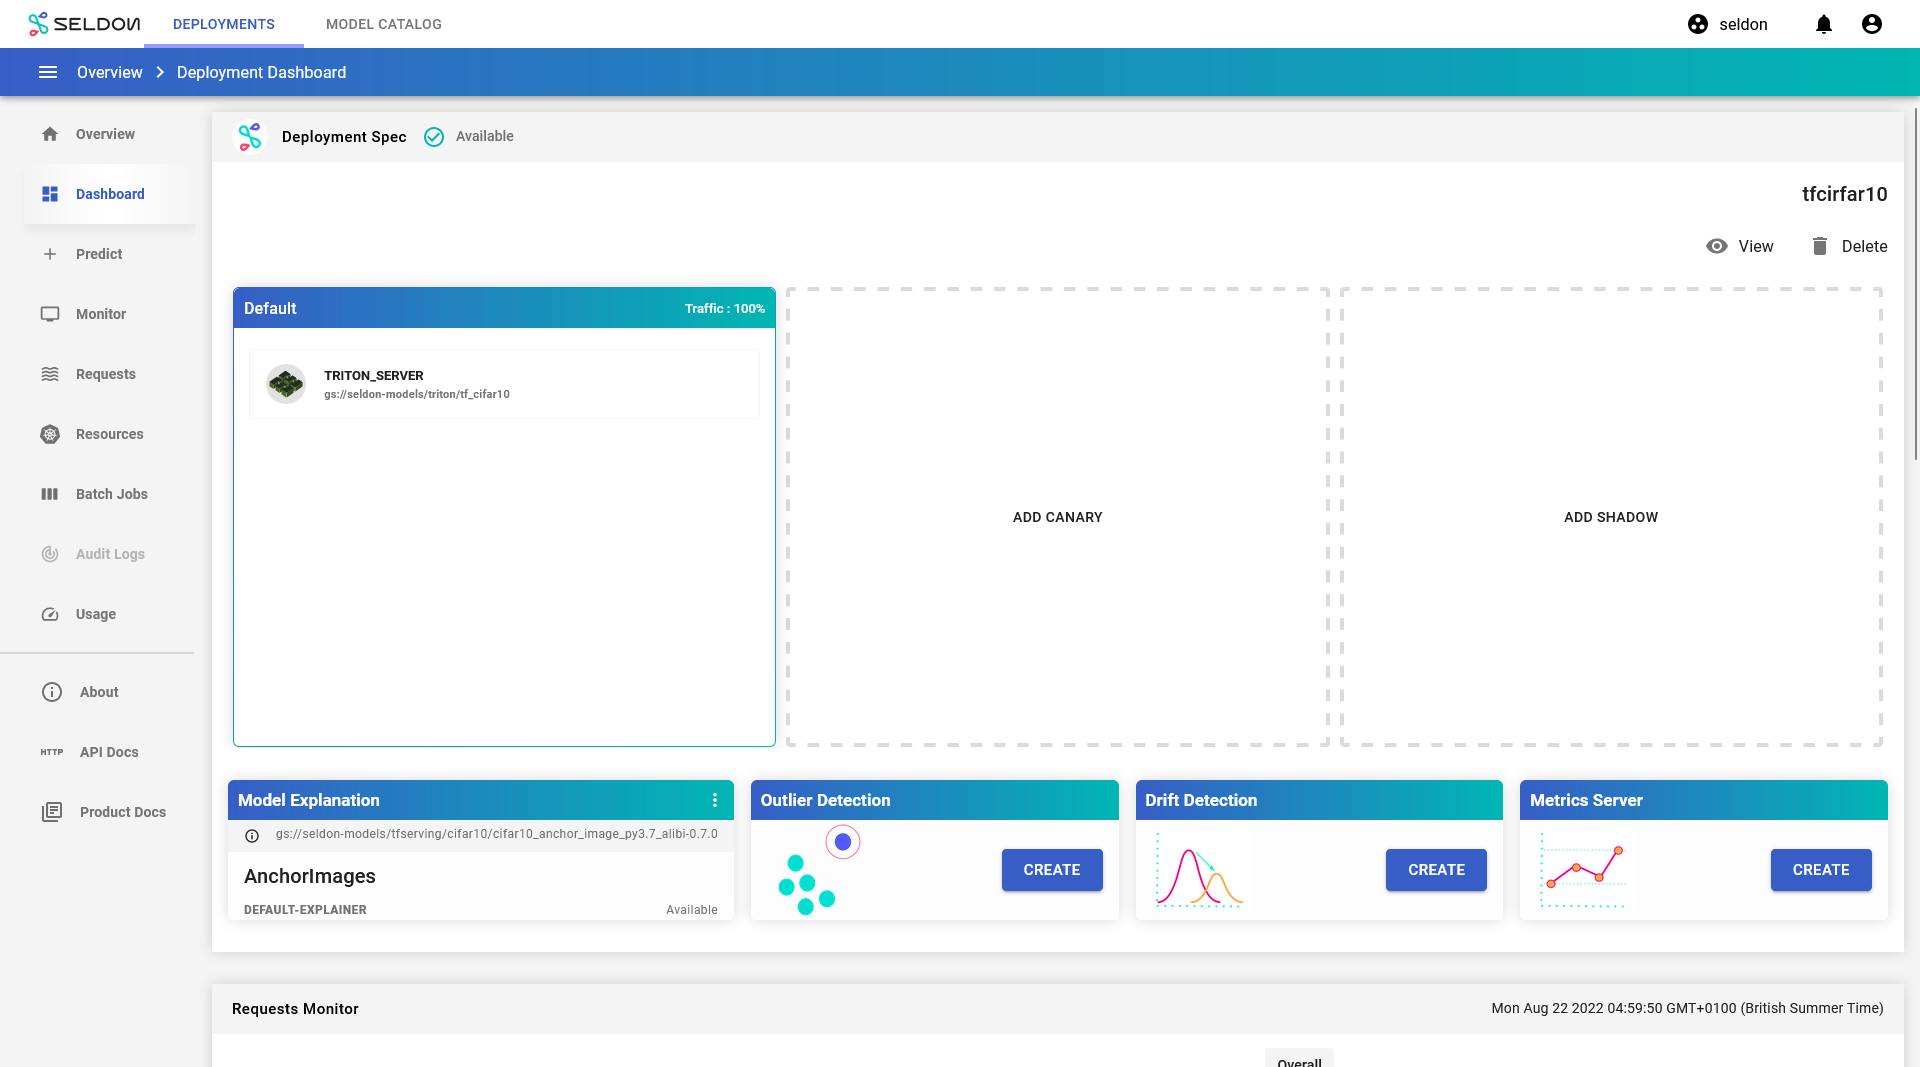
From the
tfcifar10deployment dashboard, clickCreatewithin theModel Explanationssection.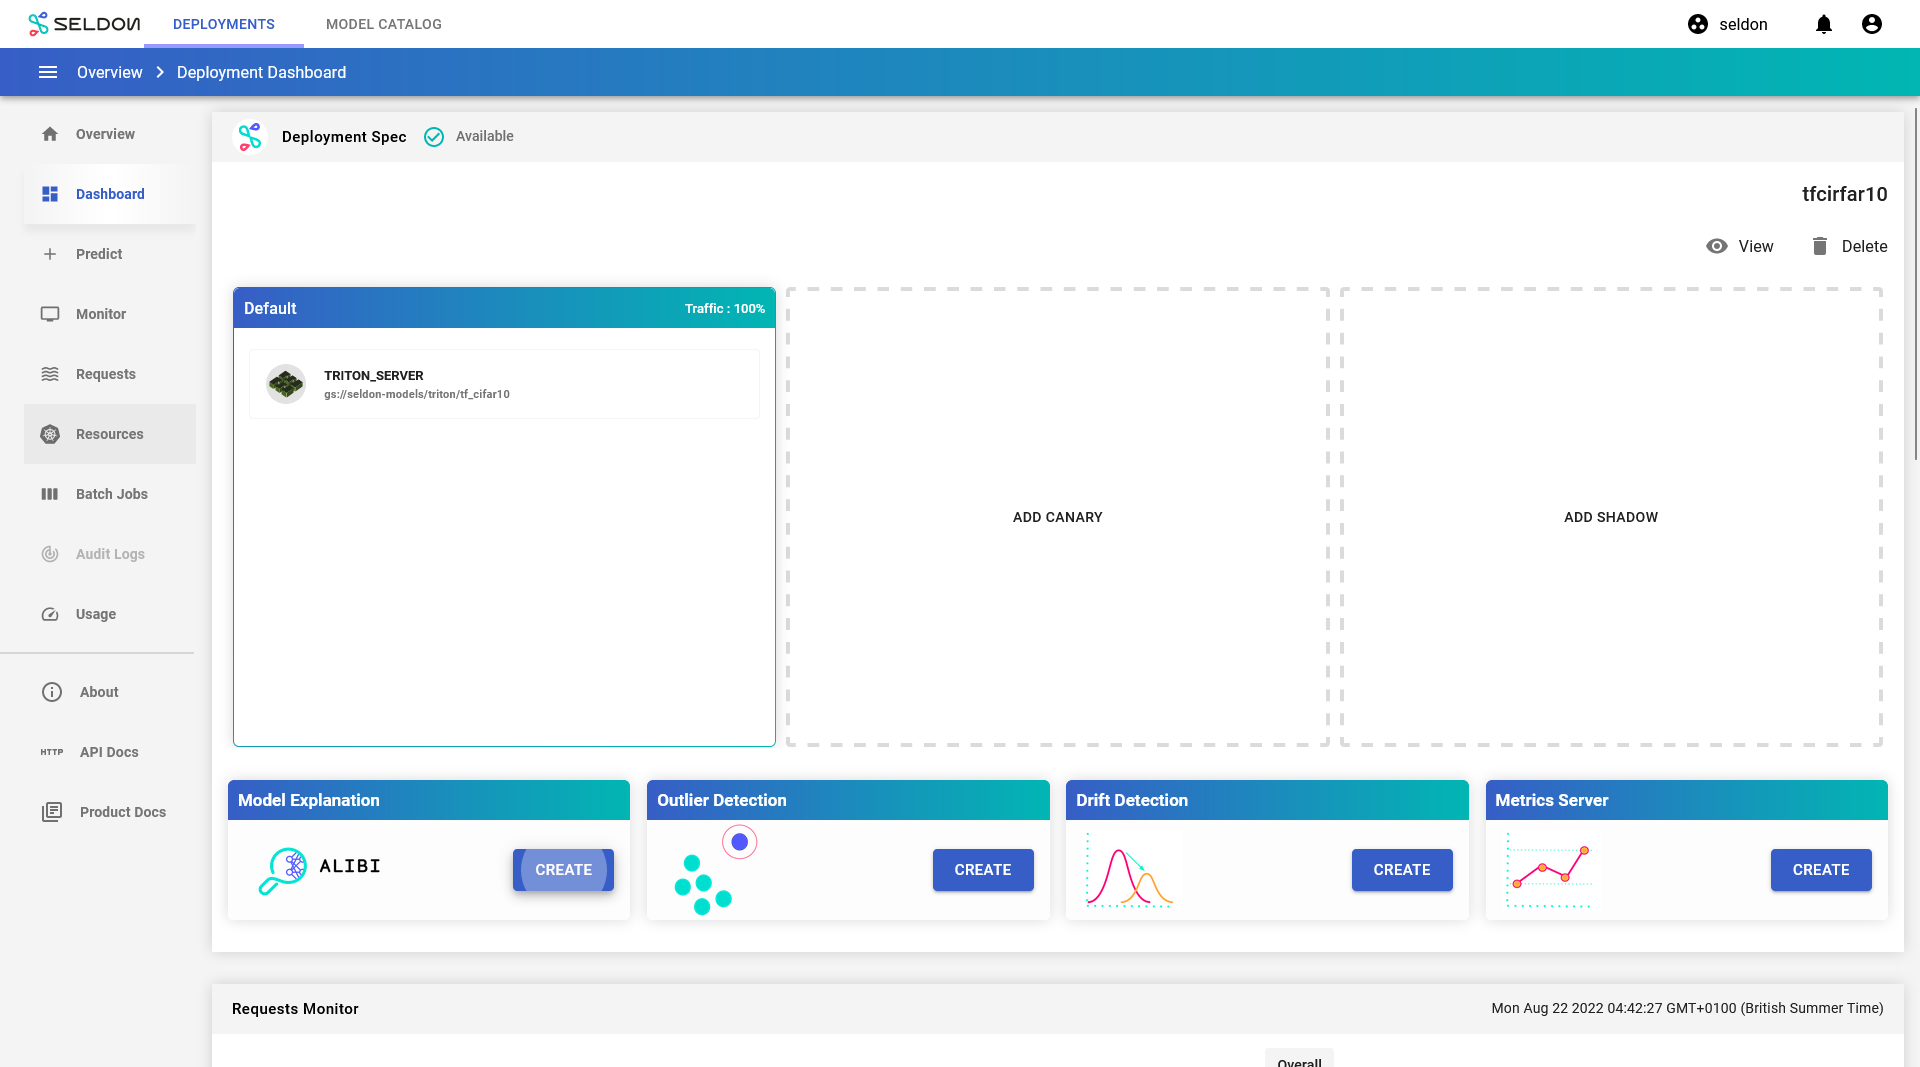
For step 1 of the Explainer Configuration Wizard, select
Imagethen clickNext.
For step 2, make sure
Anchoris selected, then clickNext.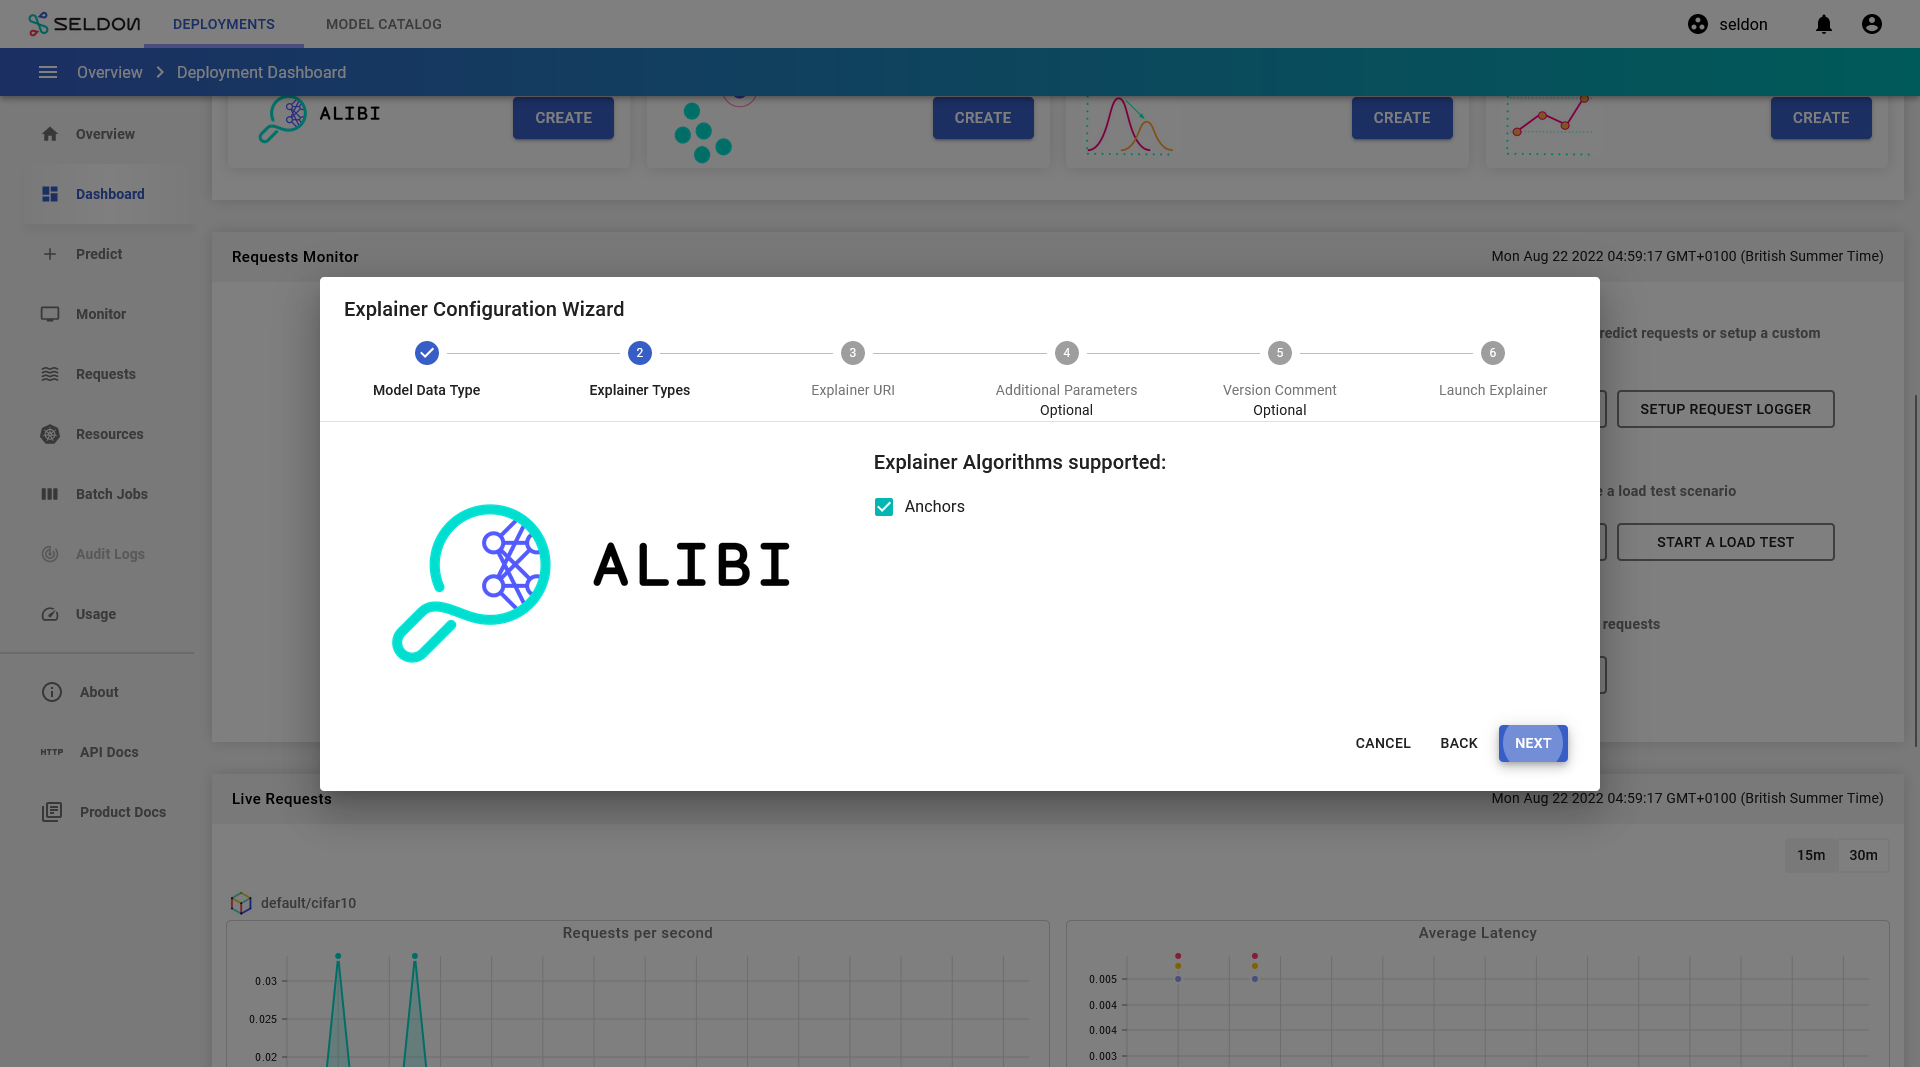
For step 3, enter the following value for the
Explainer URI:gs://seldon-models/tfserving/cifar10/cifar10_anchor_image_py3.7_alibi-0.7.0
click
Next.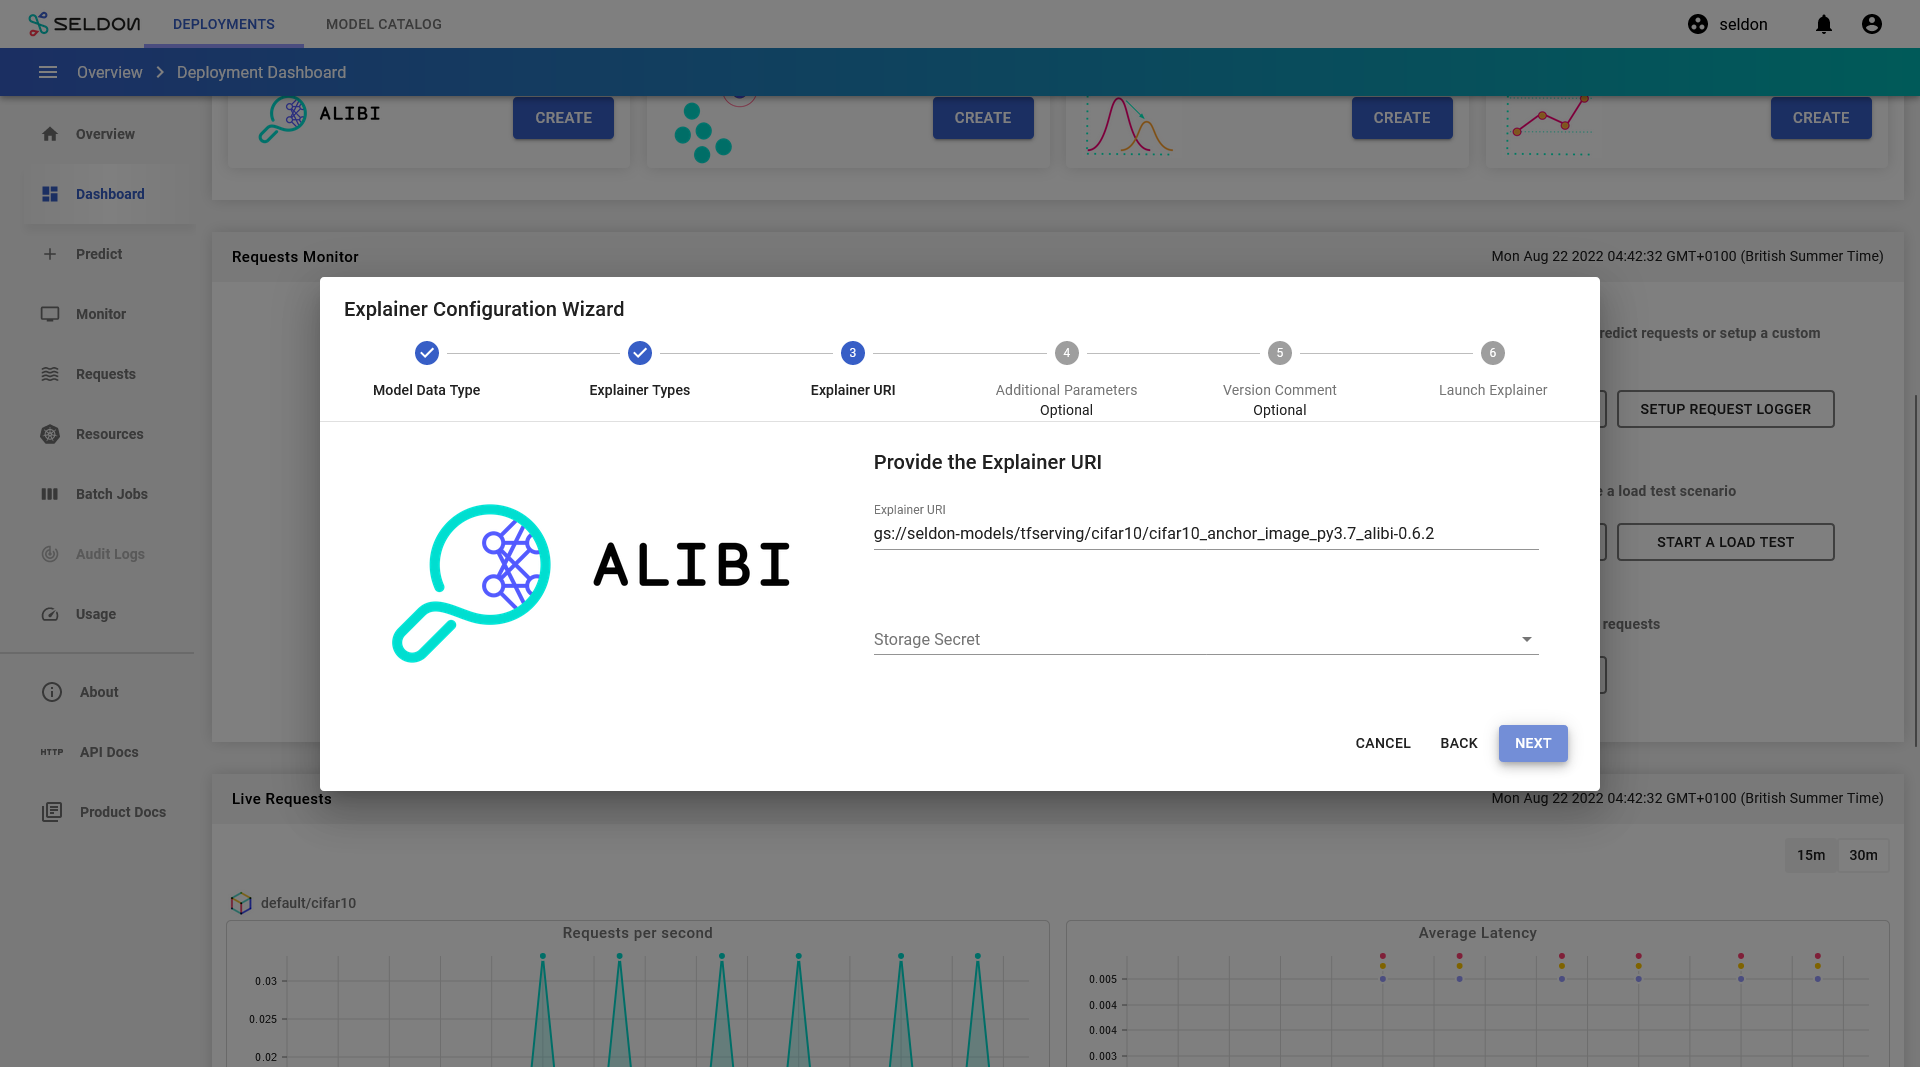
For step 4, click
Next. (Do not change any fields).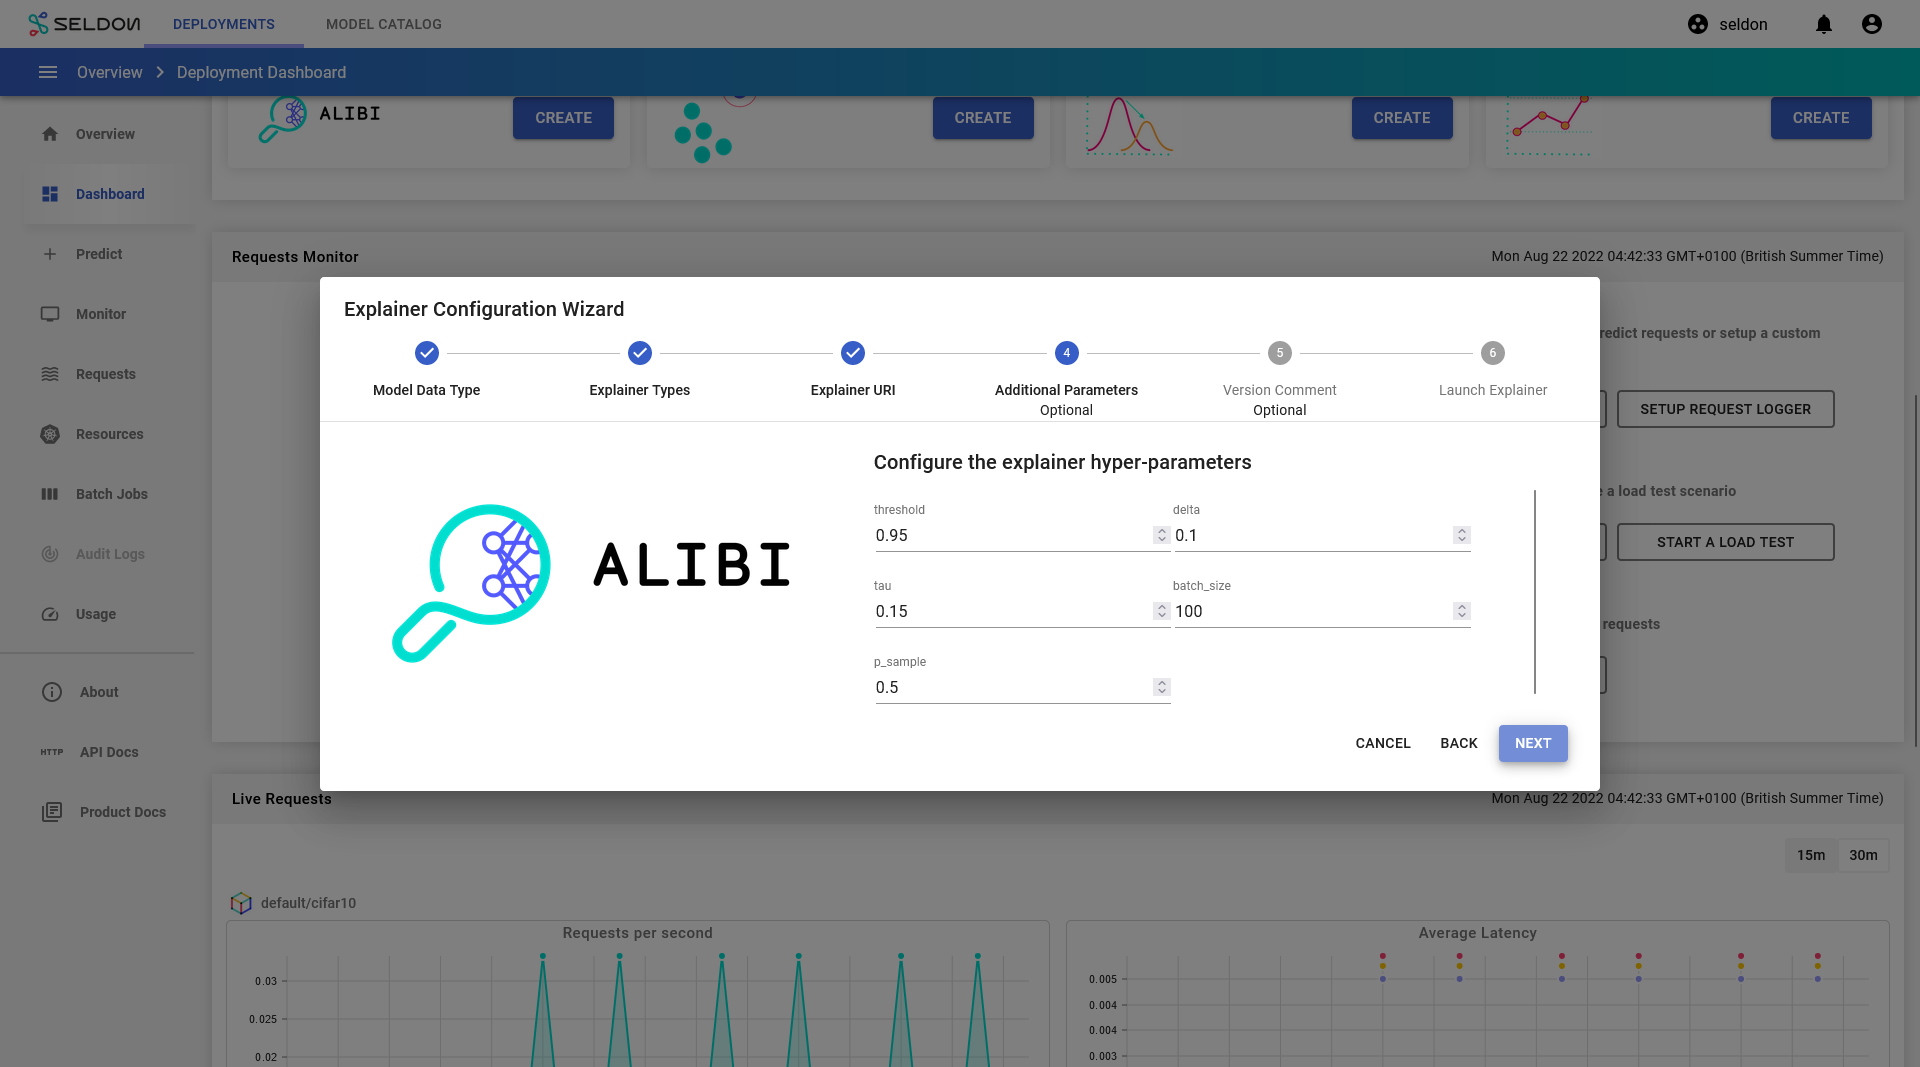
For step 5, click
Next. (Do not change any fields). You may wish to enter a comment here for a gitops enabled namespace.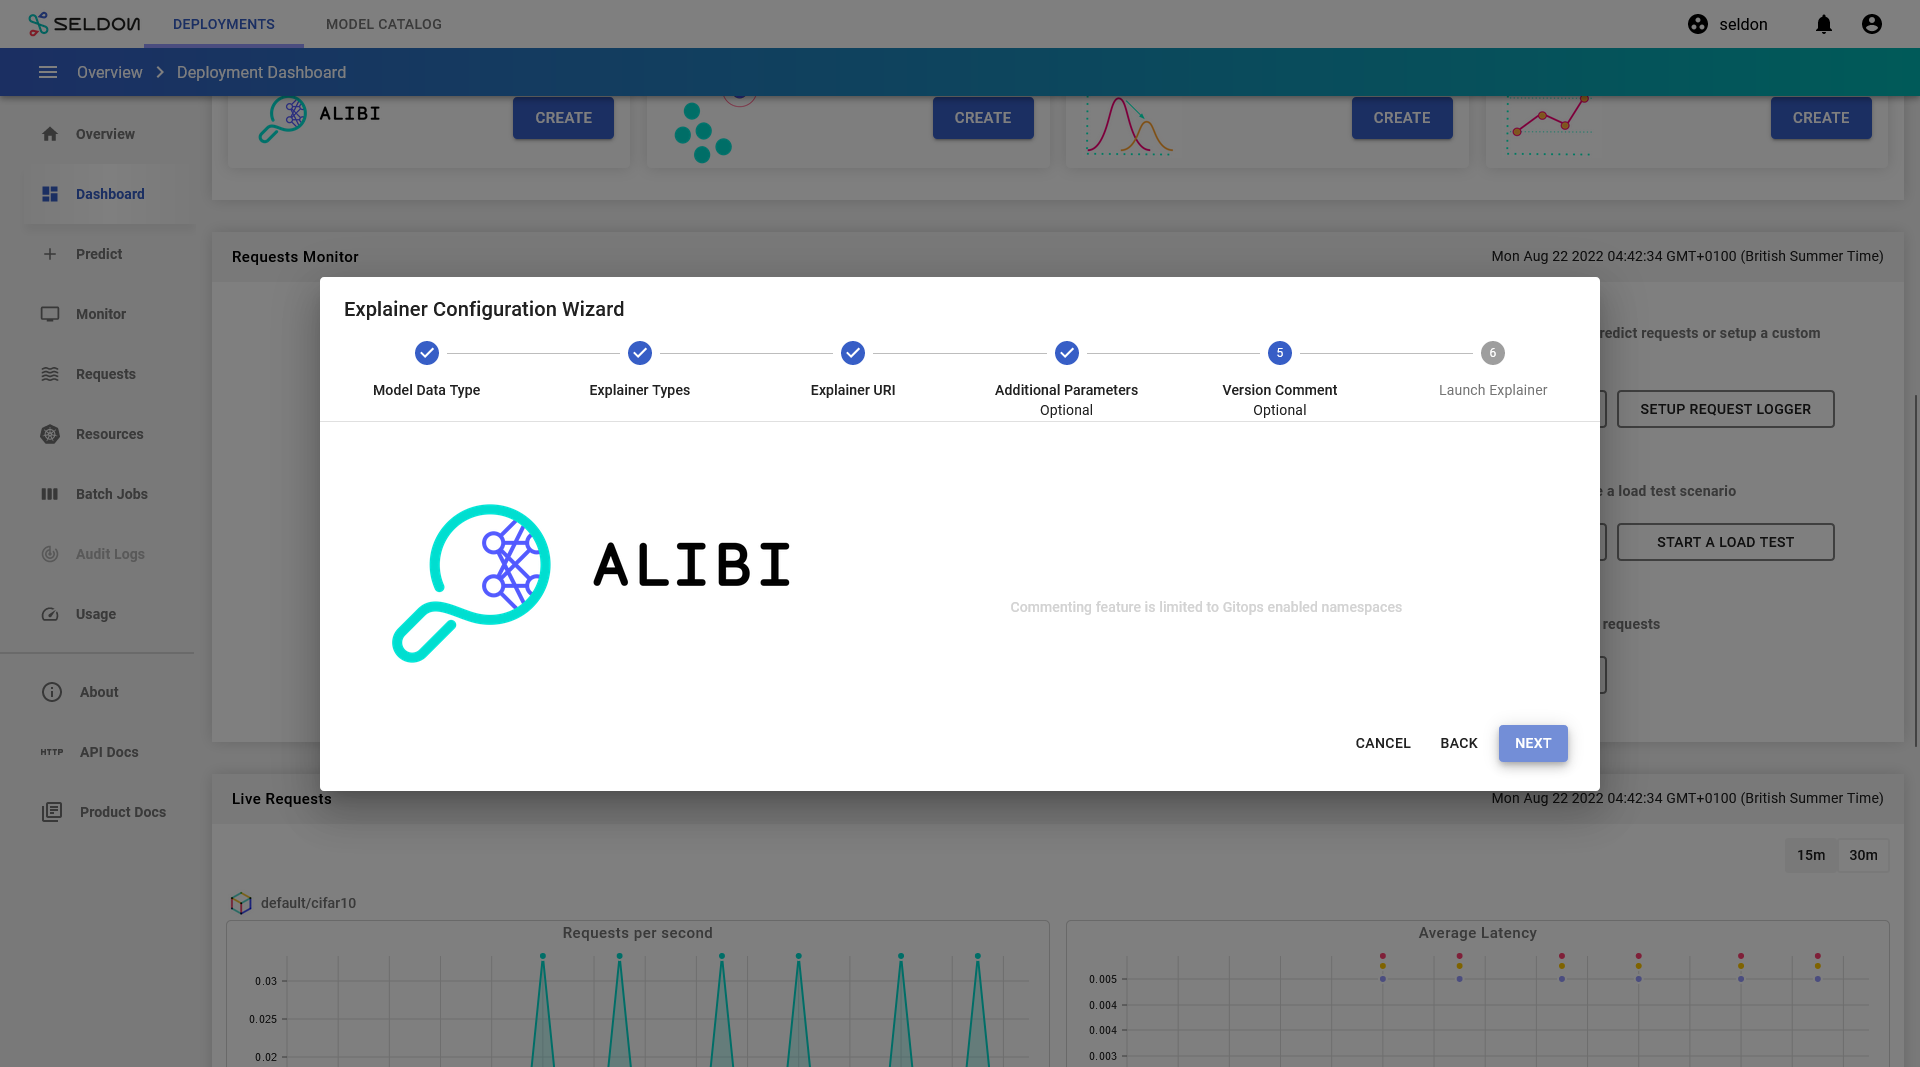
For step 6, click
Launch.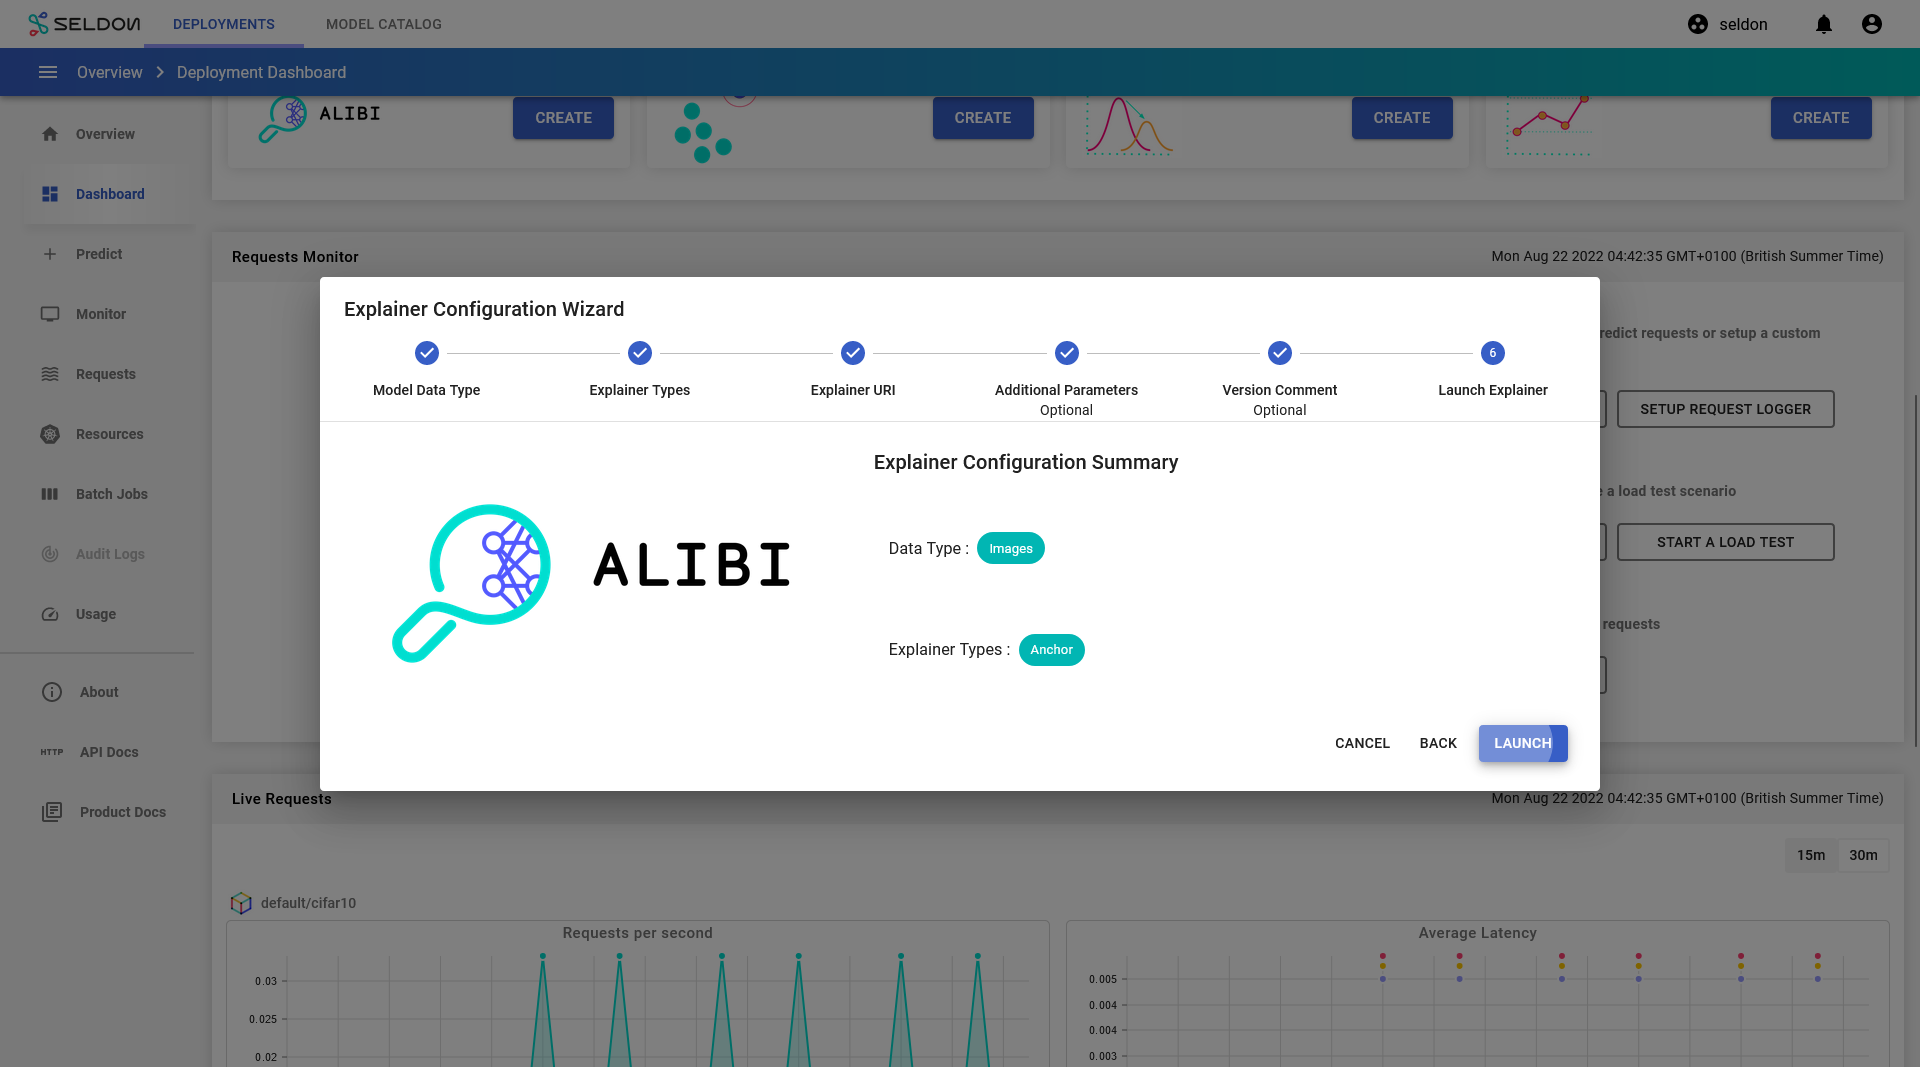
After a short while, the explainer should become available.
Get Explanation for a single prediction
Navigate to the Requests page using the left navigation drawer.
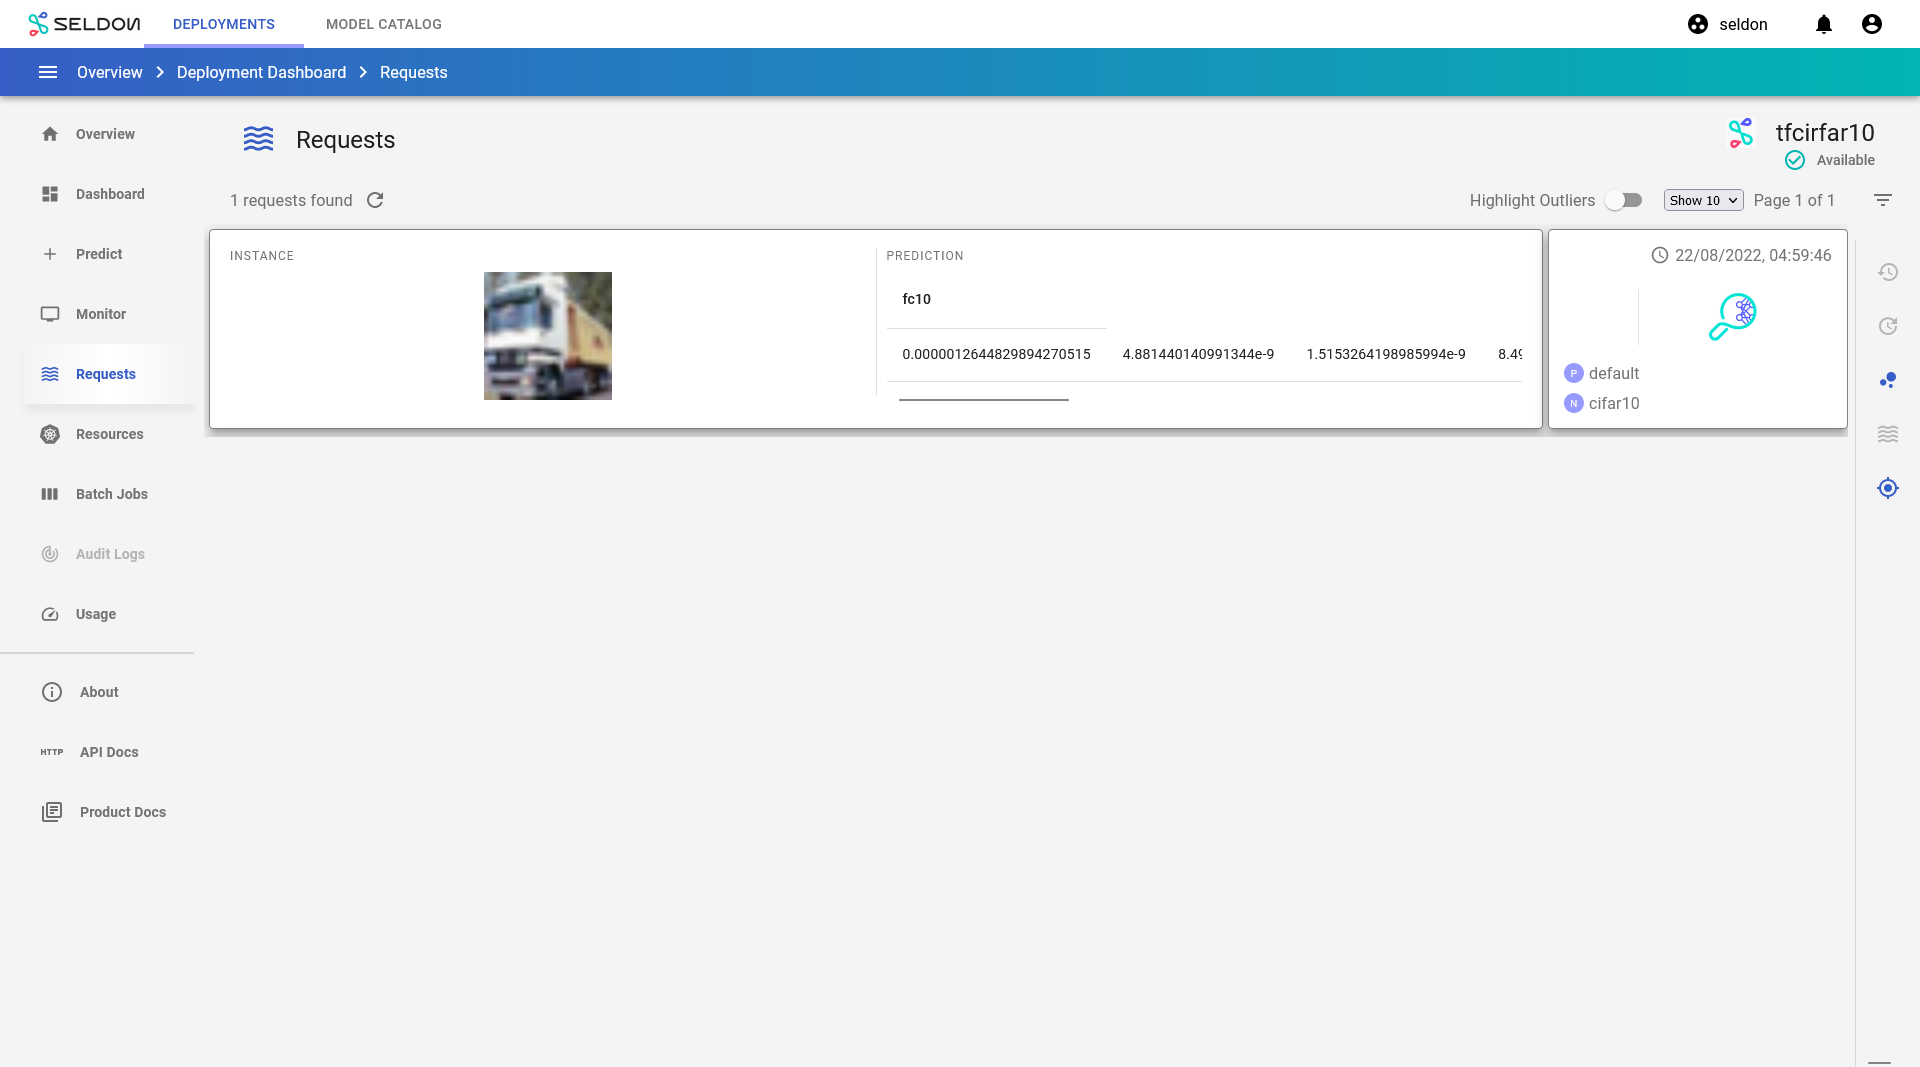
Click on View explanation button to generate explanations for the request.
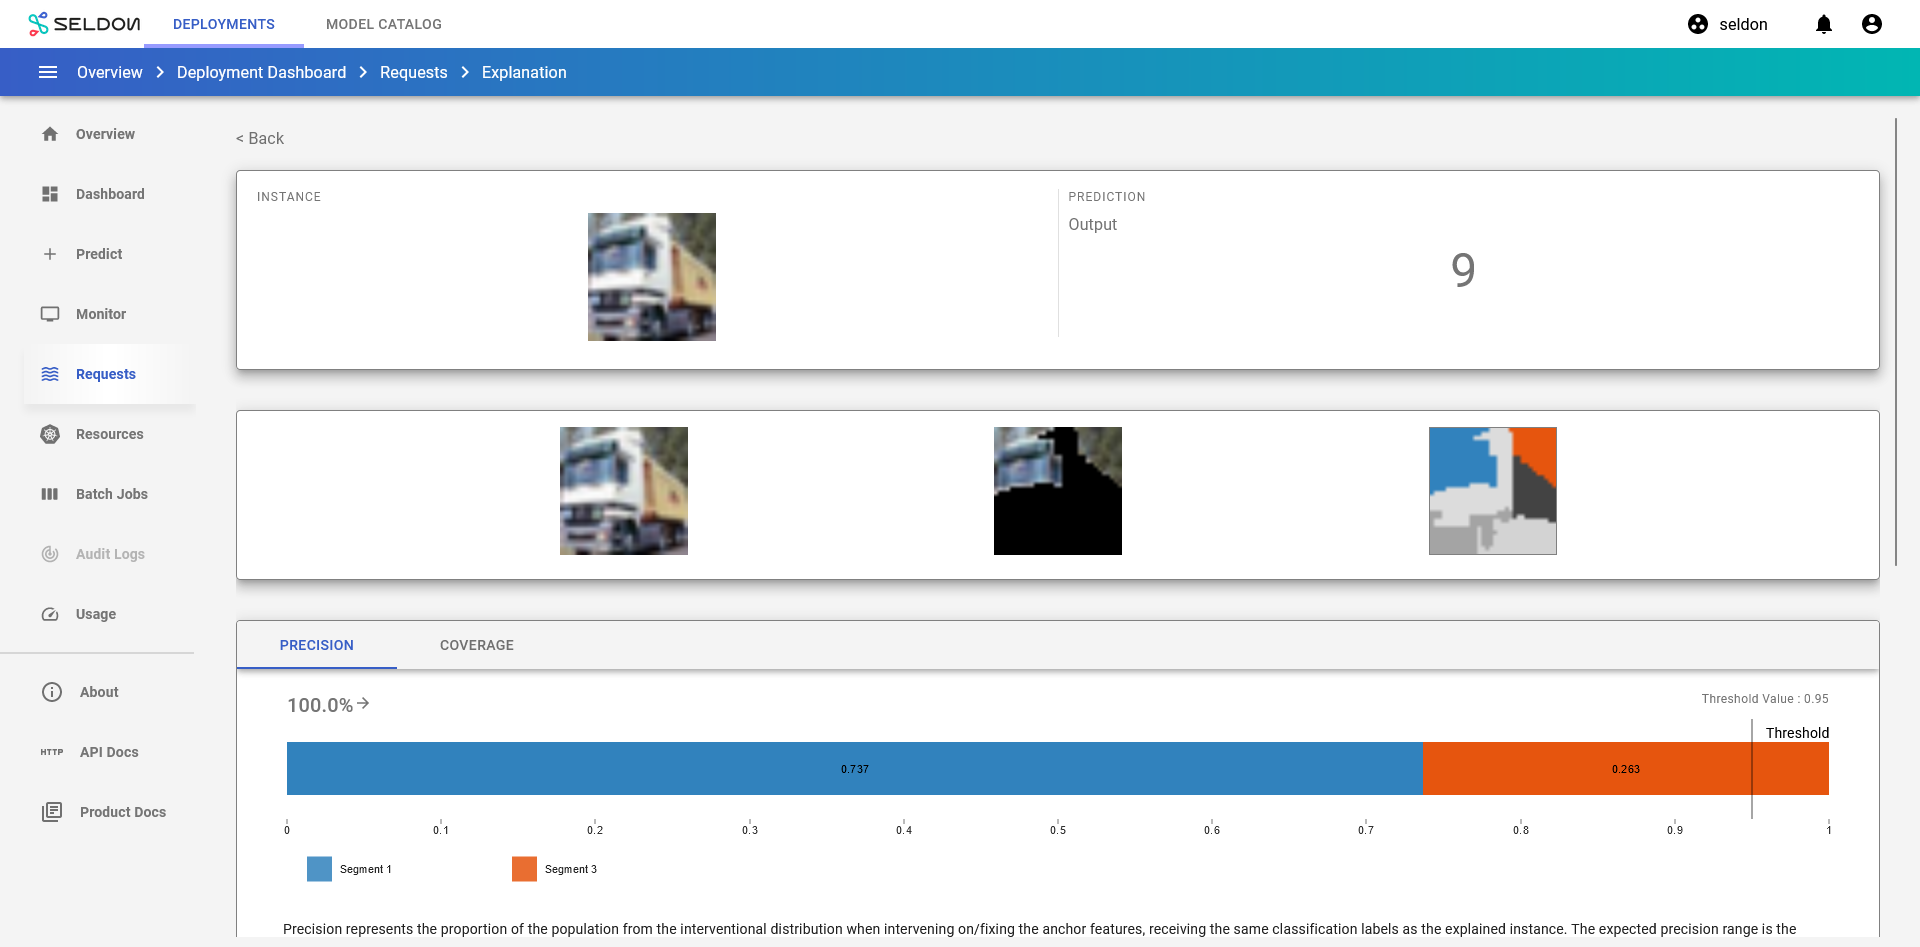
Congratulations, you’ve created an explanation for the request! 🥳
Note that the explanation request is also made as the same Kserve V2 protocol payload! 🚀
Next Steps
Why not try our other demos? Ready to dive in? Read our operations guide to learn more about how to use Enterprise Platform.